FixIT
Description
This is the third iteration of the robot. The second version was similar to this one, but due to various design and 3D printing errors, I decided to scrap it and rebuild this improved model. The primary purpose of this robot is to navigate inside wind-turbine wings, locate repair areas, drill as needed, and fill the designated spots with a two-component hardening solution. It is equipped with a total of 13 motors, has a line-of-sight range of approximately 500 meters, and operates on the 2.4GHz frequency band.
Actuators
Throughout the development process, I gained significant knowledge about gears and transmission systems, as the robot relies on various types to perform its functions effectively:
- Ball Screw Transmissions:
- Used in the syringes with stepper motors to pump the hardening solution with precision.
- Also employed in the tool head with servo motors (without limit switches) to move the needle and spindle up and down accurately.
- Planetary Gears:
- Integrated into the joints of the robotic arms and paired with stepper motors to increase torque, enabling stronger and more controlled movements.
- Belt Drives:
- Utilized with stepper motors to rotate the ball screw transmission in the syringes.
- Also drive the rotation of the robotic arm's base, ensuring smooth and efficient motion.
- Worm Gears:
- Incorporated into the robot's tires with DC motors, this gear system enhances torque, allowing the robot to navigate challenging terrains with ease.
Gallery
.png)
.jpg)
.jpg)
.jpg)
.jpg)
.jpg)
MCU
The system consists of an Arduino Mega as the master located in the base, along with two Arduino Nano boards acting as slaves—one in the arm and another in the tool head. The slaves are connected to the master via a half-duplex serial communication link.
Cameras
The system utilizes two FPV cameras: one mounted on the front of the robot to assist with navigation and another on the tool head to aid in drilling and filling tasks. While the resolution is not crystal clear, it is sufficient for both navigation and precise drilling, offering the advantages of low latency and long-range transmission.
Controller
Communication
The communication system is somewhat intricate, utilizing NRF24L01+ modules for wireless data transmission. Here's how it works:
- Arduino Mega on the Robot:
- Acts as the central hub for communication.
- Sends and receives data from various sensors, actuators, and the Arduino Nanos located on the arm and tool head.
- Collects data from the robot's subsystems and transmits it to the Arduino Mega on the controller.
- Arduino Mega on the Controller:
- Gathers input data from rotary encoders, tactile switches, and joysticks (2-DOF and 6-DOF).
- Communicates bidirectionally with the Arduino Mega on the robot via the NRF24L01+ module.
- Also interfaces with the smartphone app via the HC-06 Bluetooth module, enabling real-time monitoring, calibration, and control.
- Arduino Nanos on the Arm and Tool Head:
- Handle localized tasks and sensor data.
- Communicate with the Arduino Mega on the robot to send and receive commands and status updates.
- Smartphone App:
- Serves as a secondary display and control interface.
- Connects to the Arduino Mega on the controller via Bluetooth to monitor robot stats and perform calibrations.
Control
The system is equipped with 5 rotary encoders for precise control of various parameters, such as the ratio between component A and component B, drill spindle speed, and the position of the spindle and needle. Additionally, it includes 3 tactile switches to safely activate or deactivate the drilling spindle and filling pumps, preventing accidental switches. For navigation and control, the system features one 2-DOF joystick for robot movement and one 6-DOF joystick for operating the robotic arm, providing intuitive and precise maneuverability.
Monitor
The system features a 10-inch FPV monitor equipped with an automatic feed switch that toggles between the robot's front camera feed for navigation and the tool head camera feed for drilling and filling tasks. Additionally, it includes an HC-06 Bluetooth module, enabling connection to an Android app. This allows users to calibrate the robot and monitor its real-time statistics from any smartphone, serving as a secondary display for enhanced control and oversight.
XPlorer
Description
XPlorer is my first robotic project, designed to navigate inside wind turbine blades, inspect their condition, and record any damages or the current state. Operating on the 2.4GHz Wi-Fi band, it has a range of approximately 200 meters. This project represents a significant step in my journey into robotics, combining 3D CAD Modelling, 3D Printing, PCB design, CNC engraving and Programming.
Actuators
The robot is powered by 2 DC motors for navigation, enabling it to move smoothly within the wind turbine blades. Additionally, it incorporates 4 stepper motors to control the robotic arm, providing precise and accurate movements for inspection and data recording tasks.
Gallery
.png)
.png)
.png)
.png)
.png)
.png)
.png)
.png)
.png)
MCU
As the main control unit (MCU), the system utilizes a Raspberry Pi, which handles both control operations and live streaming from a 4K camera. The Raspberry Pi's processing power enables real-time video streaming at high resolution, ensuring detailed inspection footage, while also managing the robot's navigation, arm control, and sensor data integration.
Case
Communication
The system employs a combination of wireless technologies for efficient operation:
- NRF24L01+ modules are used for controlling the robot and transferring real-time status data, ensuring reliable communication between the controller and the robot.
- 2.4GHz Wi-Fi is utilized to stream the 4K camera feed to the 24-inch monitor, providing high-resolution visuals for inspection tasks.
Control
The system includes two joysticks for intuitive control:
- A 3-DOF joystick for robot navigation, allowing precise movement within the wind turbine blades.
- A 4-DOF joystick for controlling the robotic arm, enabling detailed manipulation during inspections.
Additionally, the 10-inch Android tablet provides a user interface for controlling the robot, offering an alternative to the joysticks.
Monitor
The system features a 24-inch monitor dedicated to displaying the high-quality 4K camera feed, providing clear and detailed visuals for inspection tasks. Additionally, it is equipped with a 10-inch Android tablet that serves as a secondary interface, enabling real-time monitoring of the robot's status, control inputs, and the FPV camera feed.
CNC
Gallery
.jpg)
.jpg)
.jpg)
.jpg)
Description
I design circuits using EasyEDA and then utilize CNC software to engrave double-sided copper plates. While my current capabilities are limited to generate double-sided layers, this meets the requirements for most of my projects. Although the mini CNC machine is equipped with a 1kW water-cooled spindle capable of shaping soft metals, its primarily used for generating PCB prototypes.
3D
Gallery
.png)
.png)
.png)
.png)
.png)
.png)
Description
For 3D modeling and design, I primarily utilize OnShape, especially for parts requiring precision. While i use Blender for more creative and organic designs, I rely on OnShape for technical and engineering-focused projects. I have experience operating both FDM and SLA 3D printers, with FDM being my go-to for most applications due to its versatility and efficiency. For intricate components, such as small gears or highly detailed parts, I leverage the precision of SLA printing. To optimize my workflow, I use Klipper firmware paired with the Mainsail interface, running on a dedicated Dell server, ensuring smooth operation and enhanced print quality.
Unraid
Description
This is my Dell T7910 rack-mounted personal server.It has a 48-core processor, 128GB of RAM, and a 10TB hard disk. It runs Unraid with Parity to safeguard against data loss, ensuring reliability and data integrity. The server hosts a wide range of applications to efficiently handle diverse tasks, including Nextcloud for managing and storing personal files, Frigate for security and home automation camera feeds, and pfSense for network management and firewall capabilities.
Applications
Frigate utilizes the Google Edge TPU ML accelerator coprocessor to enable fast and accurate object and motion detection, which powers various Home Assistant automations. The system is connected to 10 cameras, capable of recording 24/7 footage stored for up to 2 weeks, while retaining object and motion detection data for 1 month.
pfSense manages the firewall and network for my workshop. It serves as a reverse proxy server, DNS server, DHCP server, and personal VPN server. Setting up pfSense provided me with a deeper understanding of key networking concepts such as DHCP, DNS, VPN, reverse proxies, and proxies, as I needed to grasp these in order to configure the system effectively.
Mosquitto is a message broker that implements the MQTT protocol. It acts as an intermediary, enabling communication between Frigate, various Zigbee sensors, and Home Assistant for seamless home automation. This setup facilitates efficient data exchange and integration across devices, enhancing the overall functionality of the smart home system.
Nextcloud is utilized to host and manage various types of files and backups. It serves as a centralized platform for storing, organizing, and accessing data.
Solar
Description
This is my first solar setup, consisting of a 1.5 kW solar panel array, a 5 kWh inverter, and a 600 Ah battery pack. It was primarily designed to ensure uninterrupted power for my server, sensors, and cameras during electrical outages. Currently, the system operates in hybrid mode: during the day, it relies on solar energy, and at night, it switches to grid power for continuous operation.
Home Assistant

Description
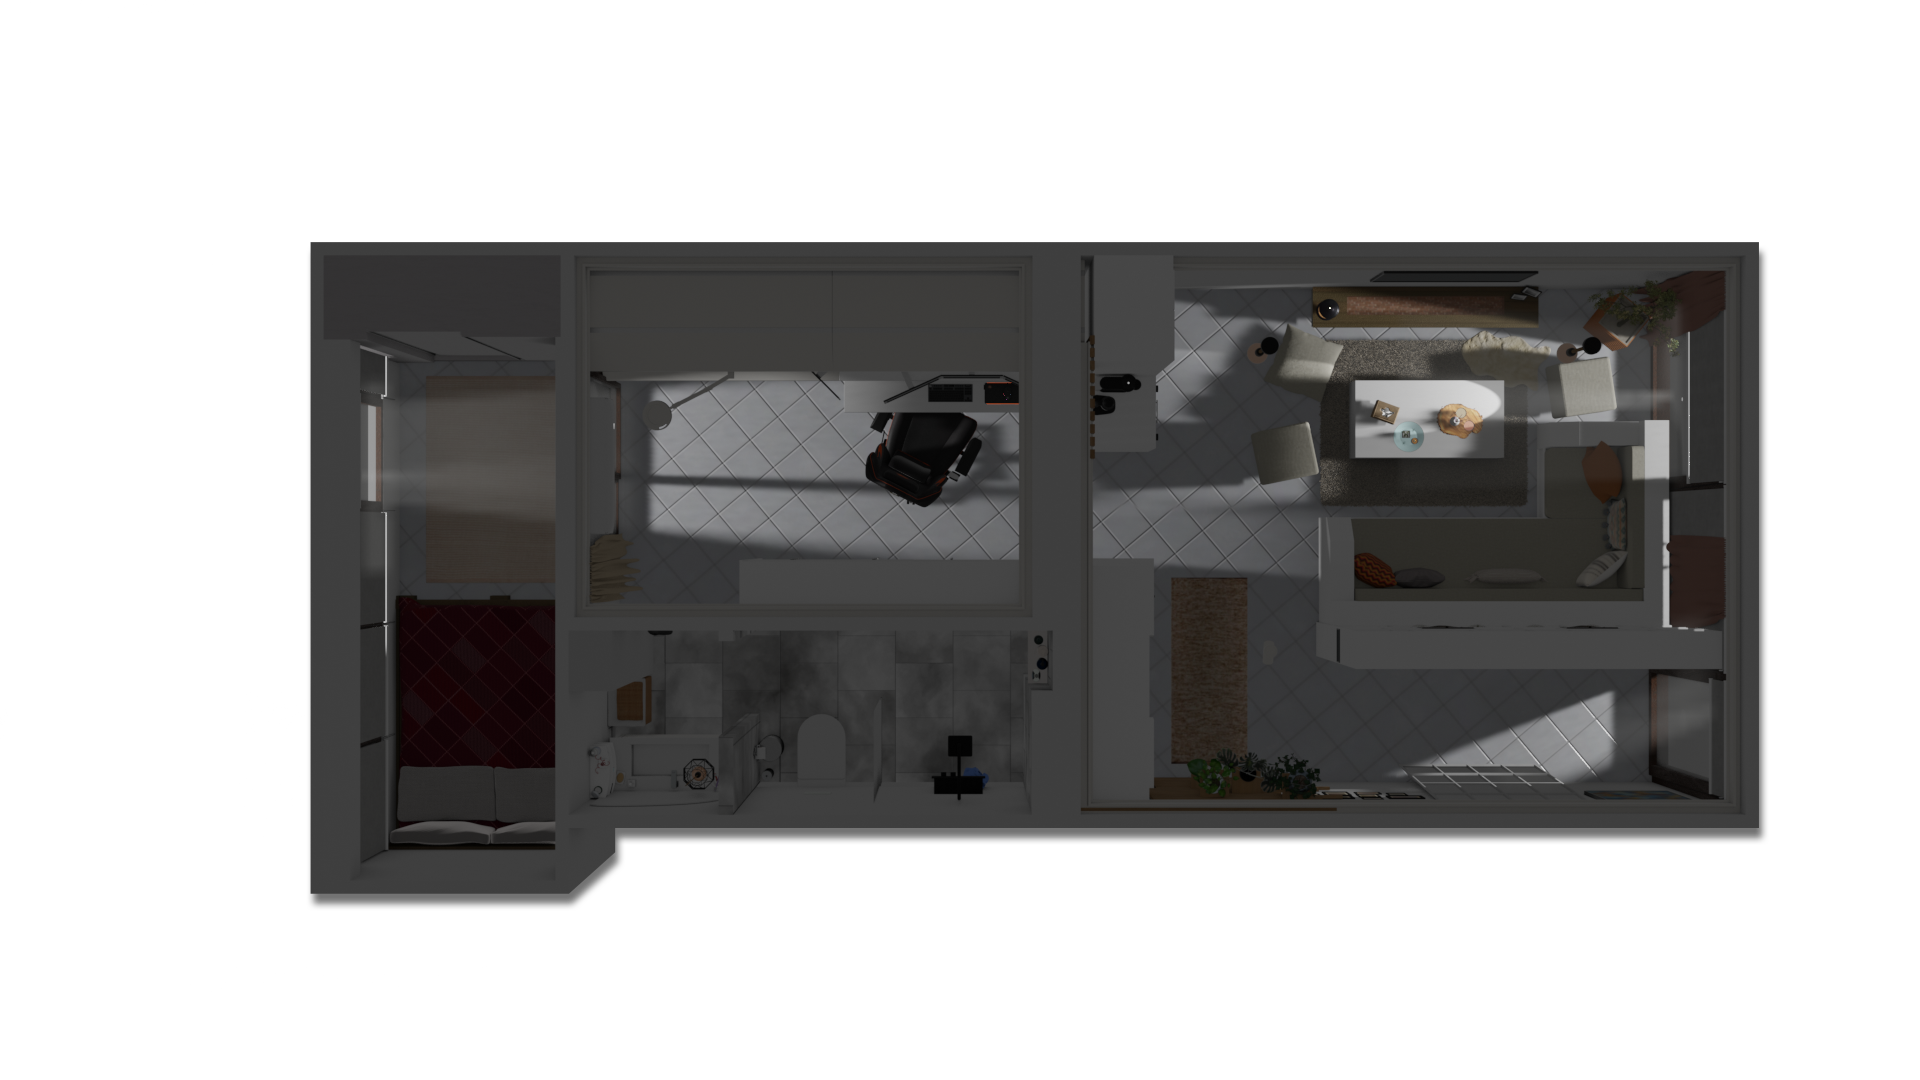
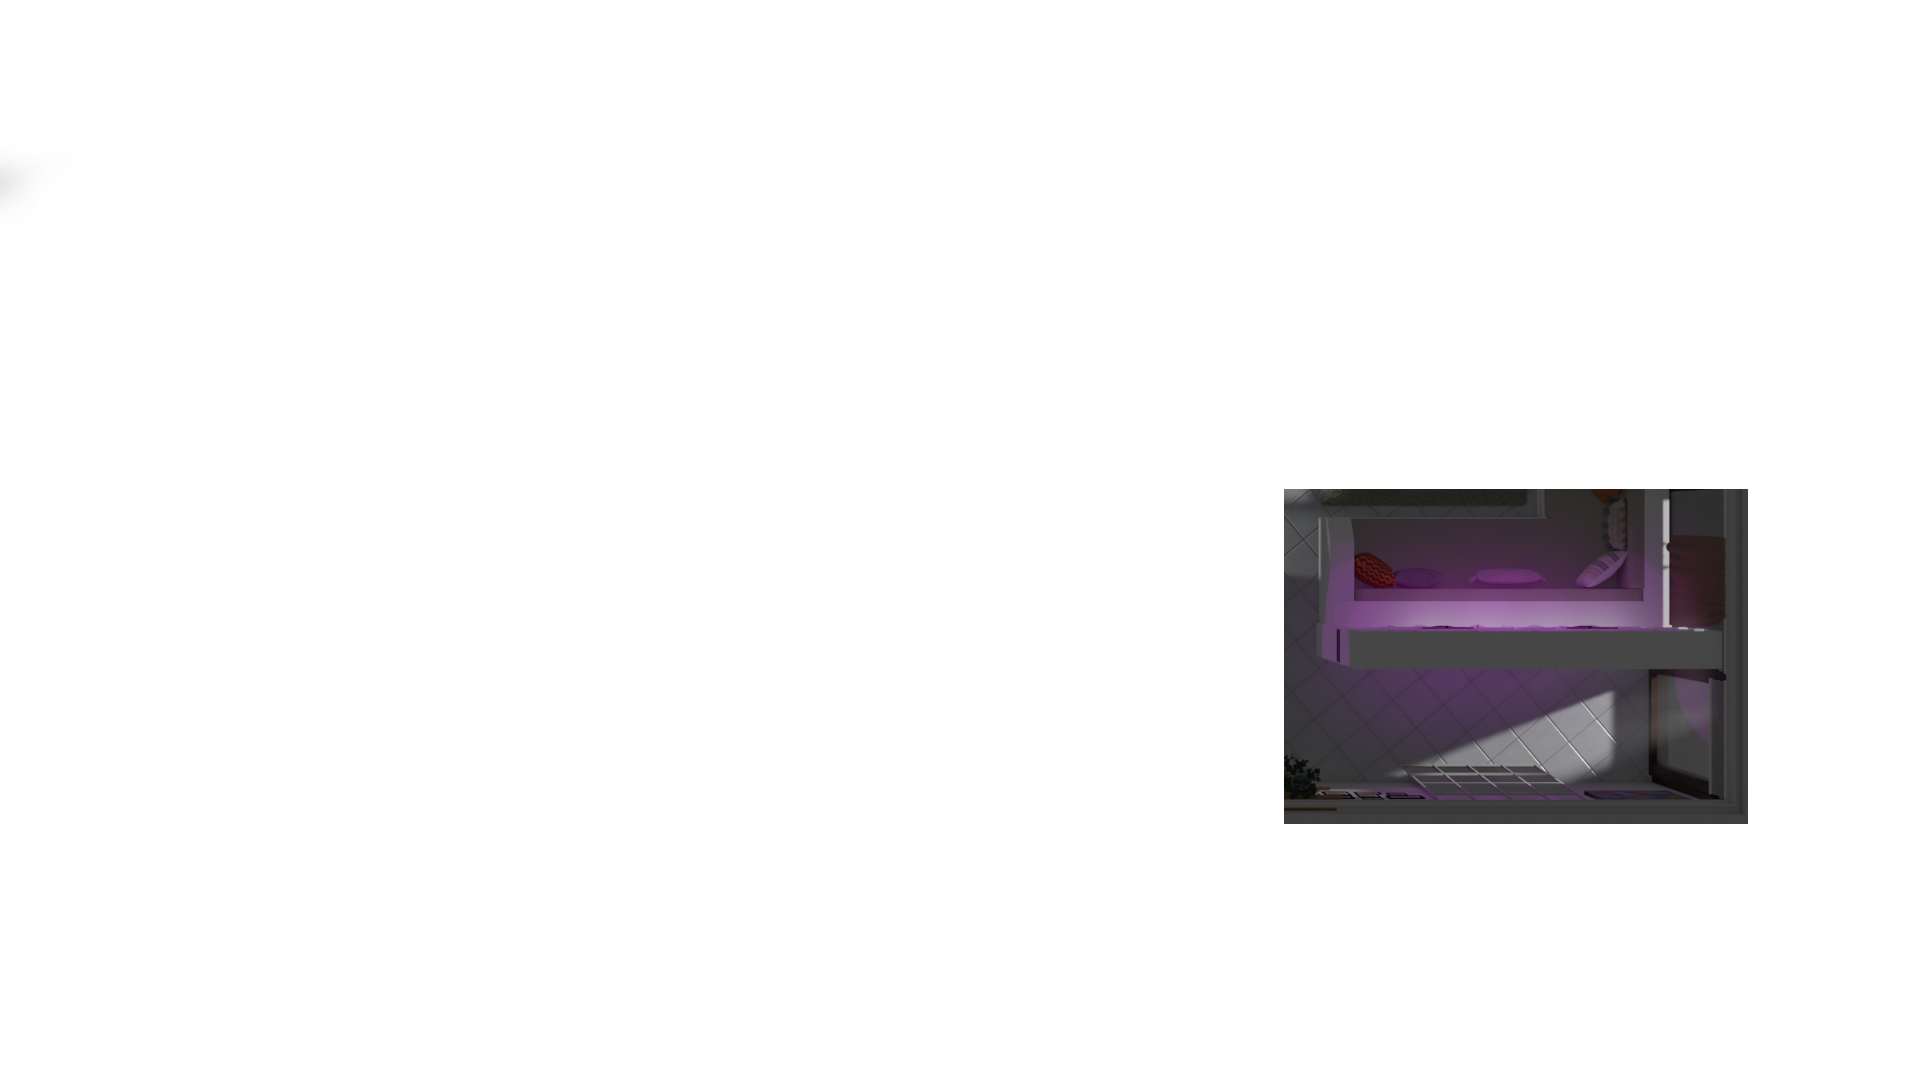
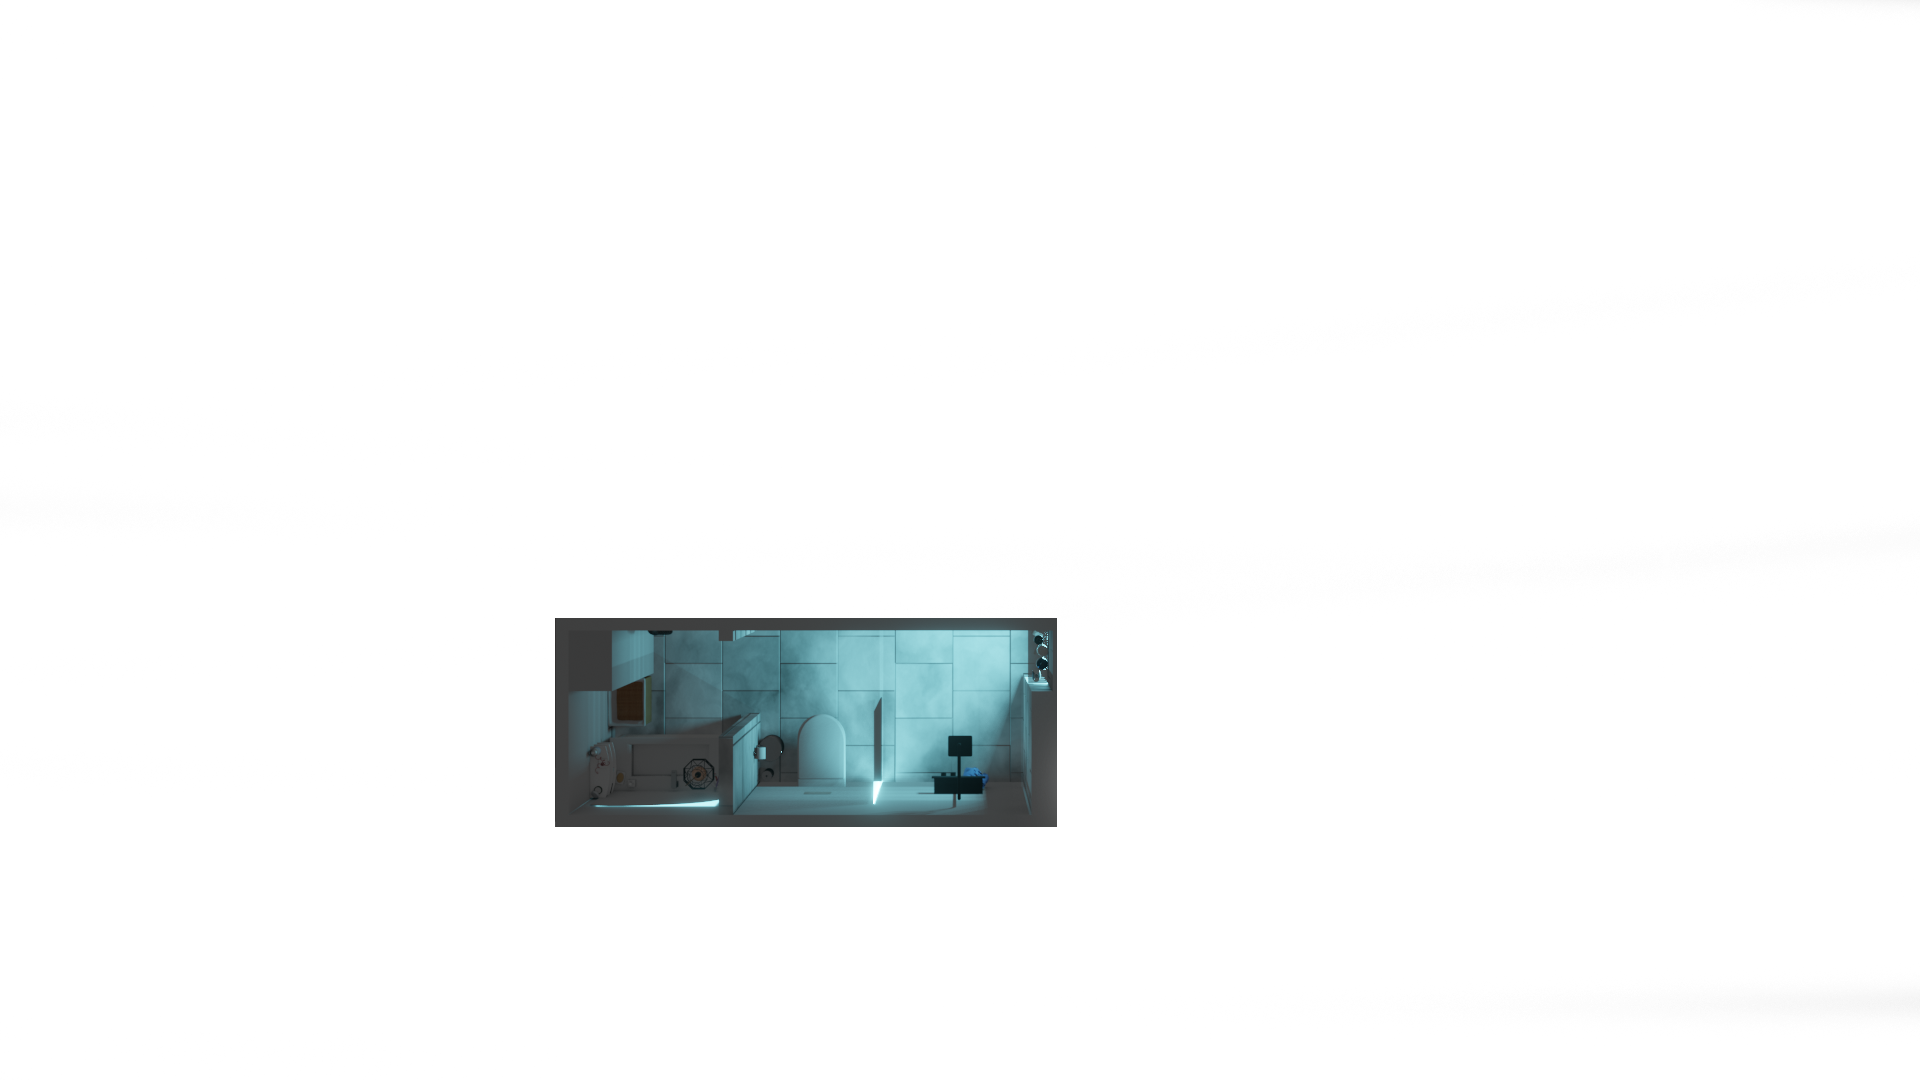
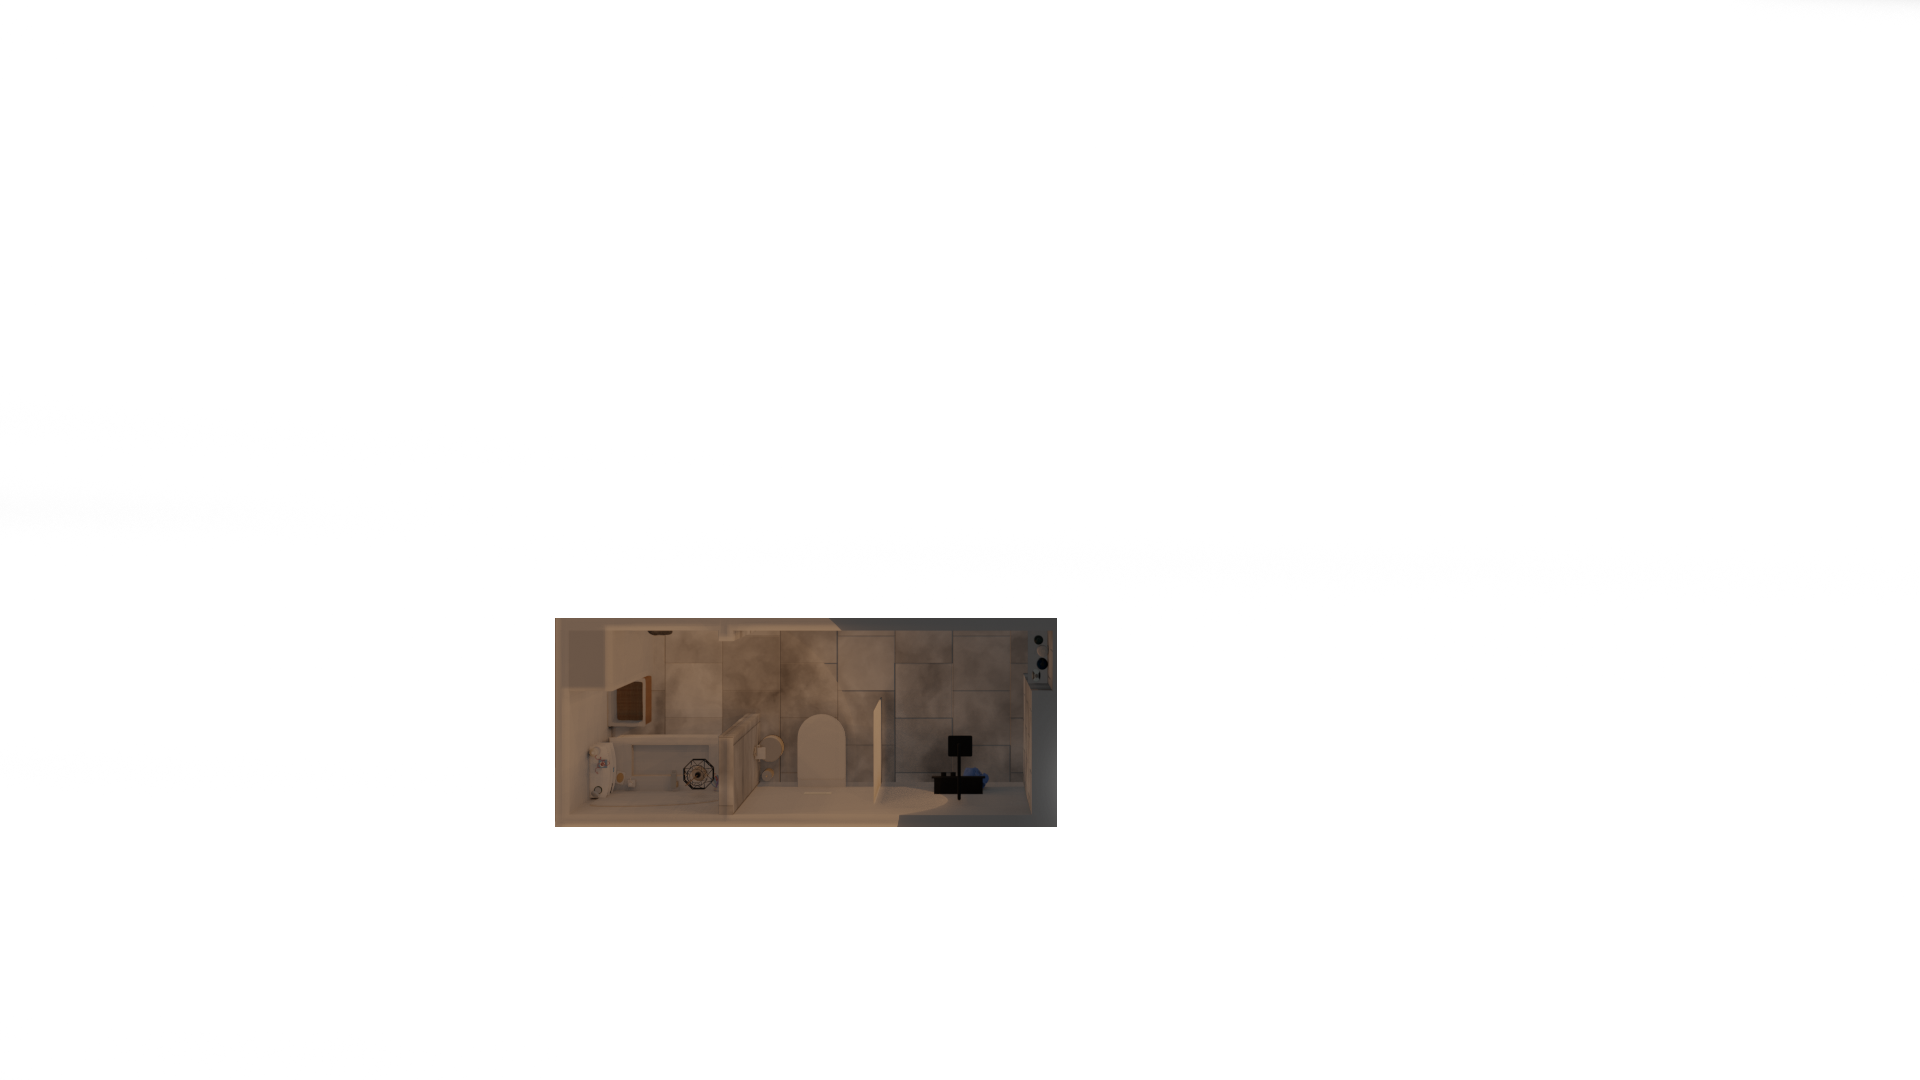
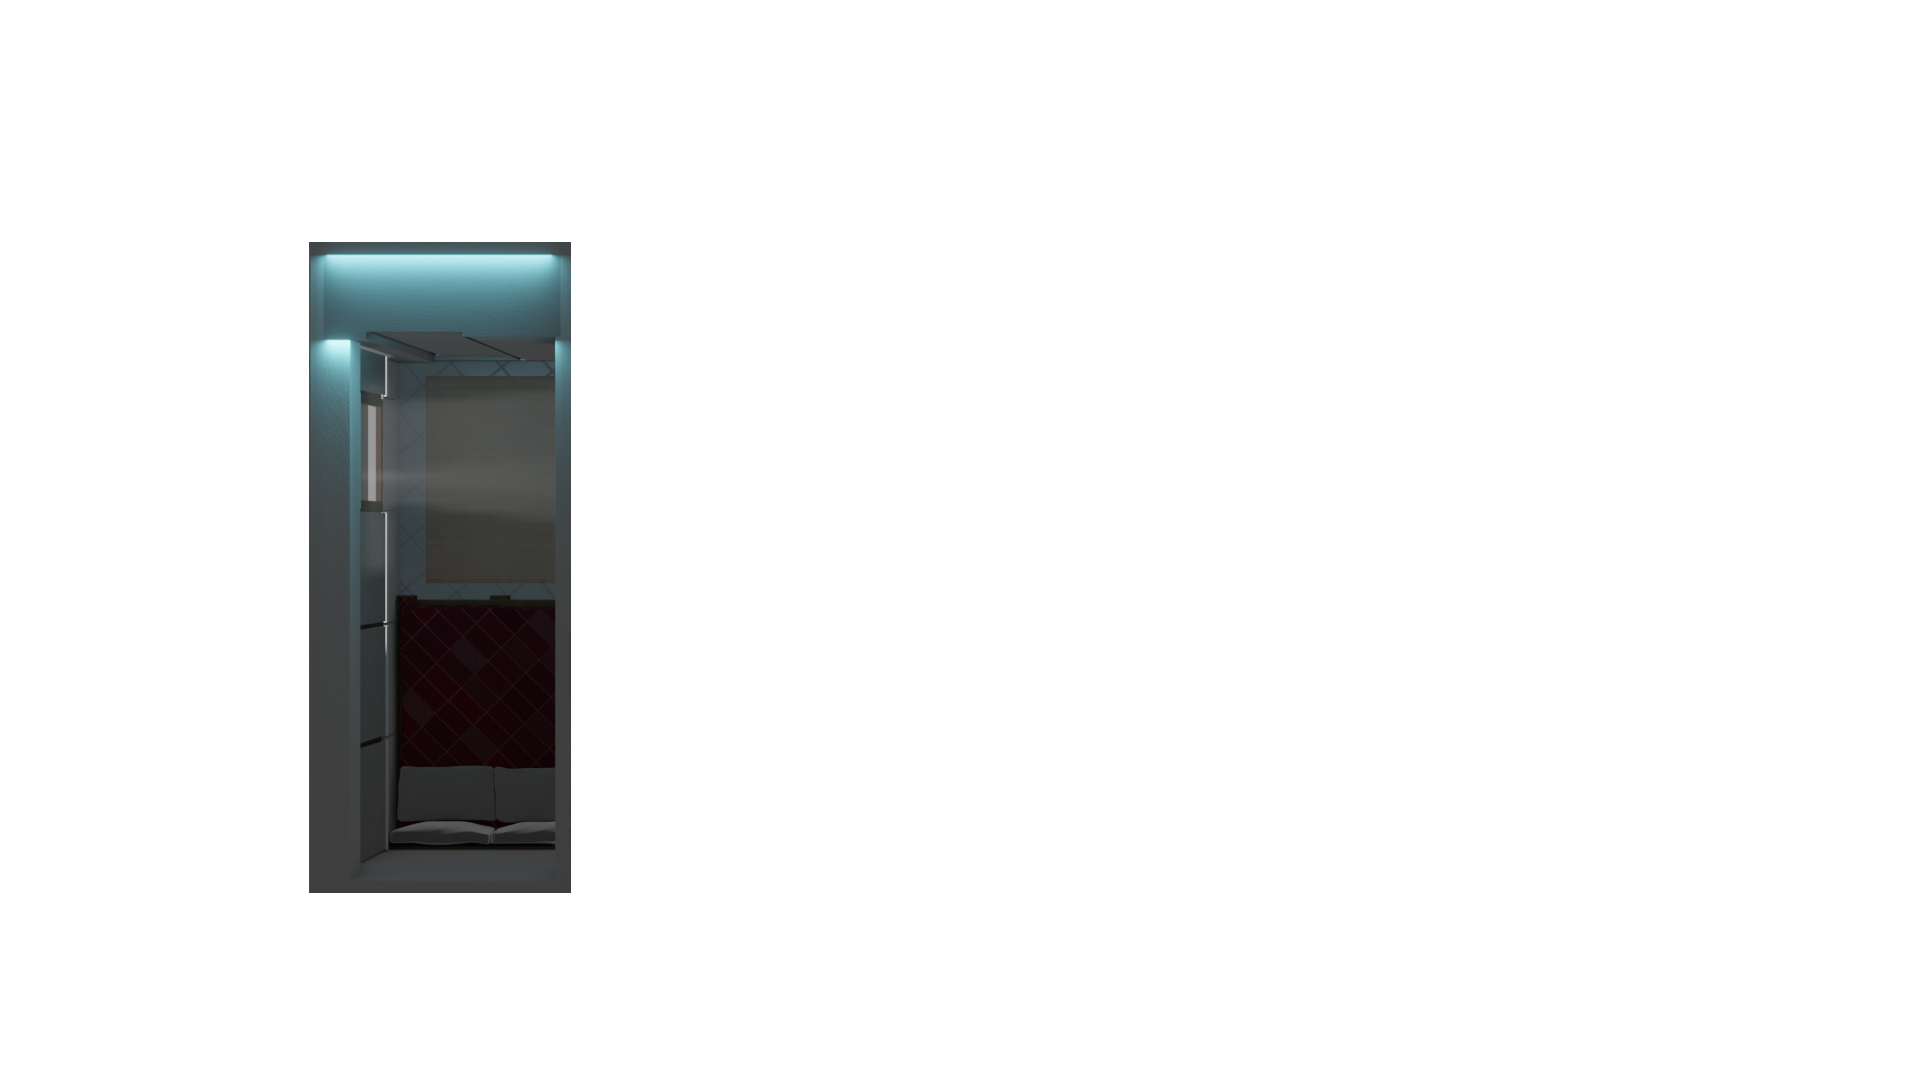
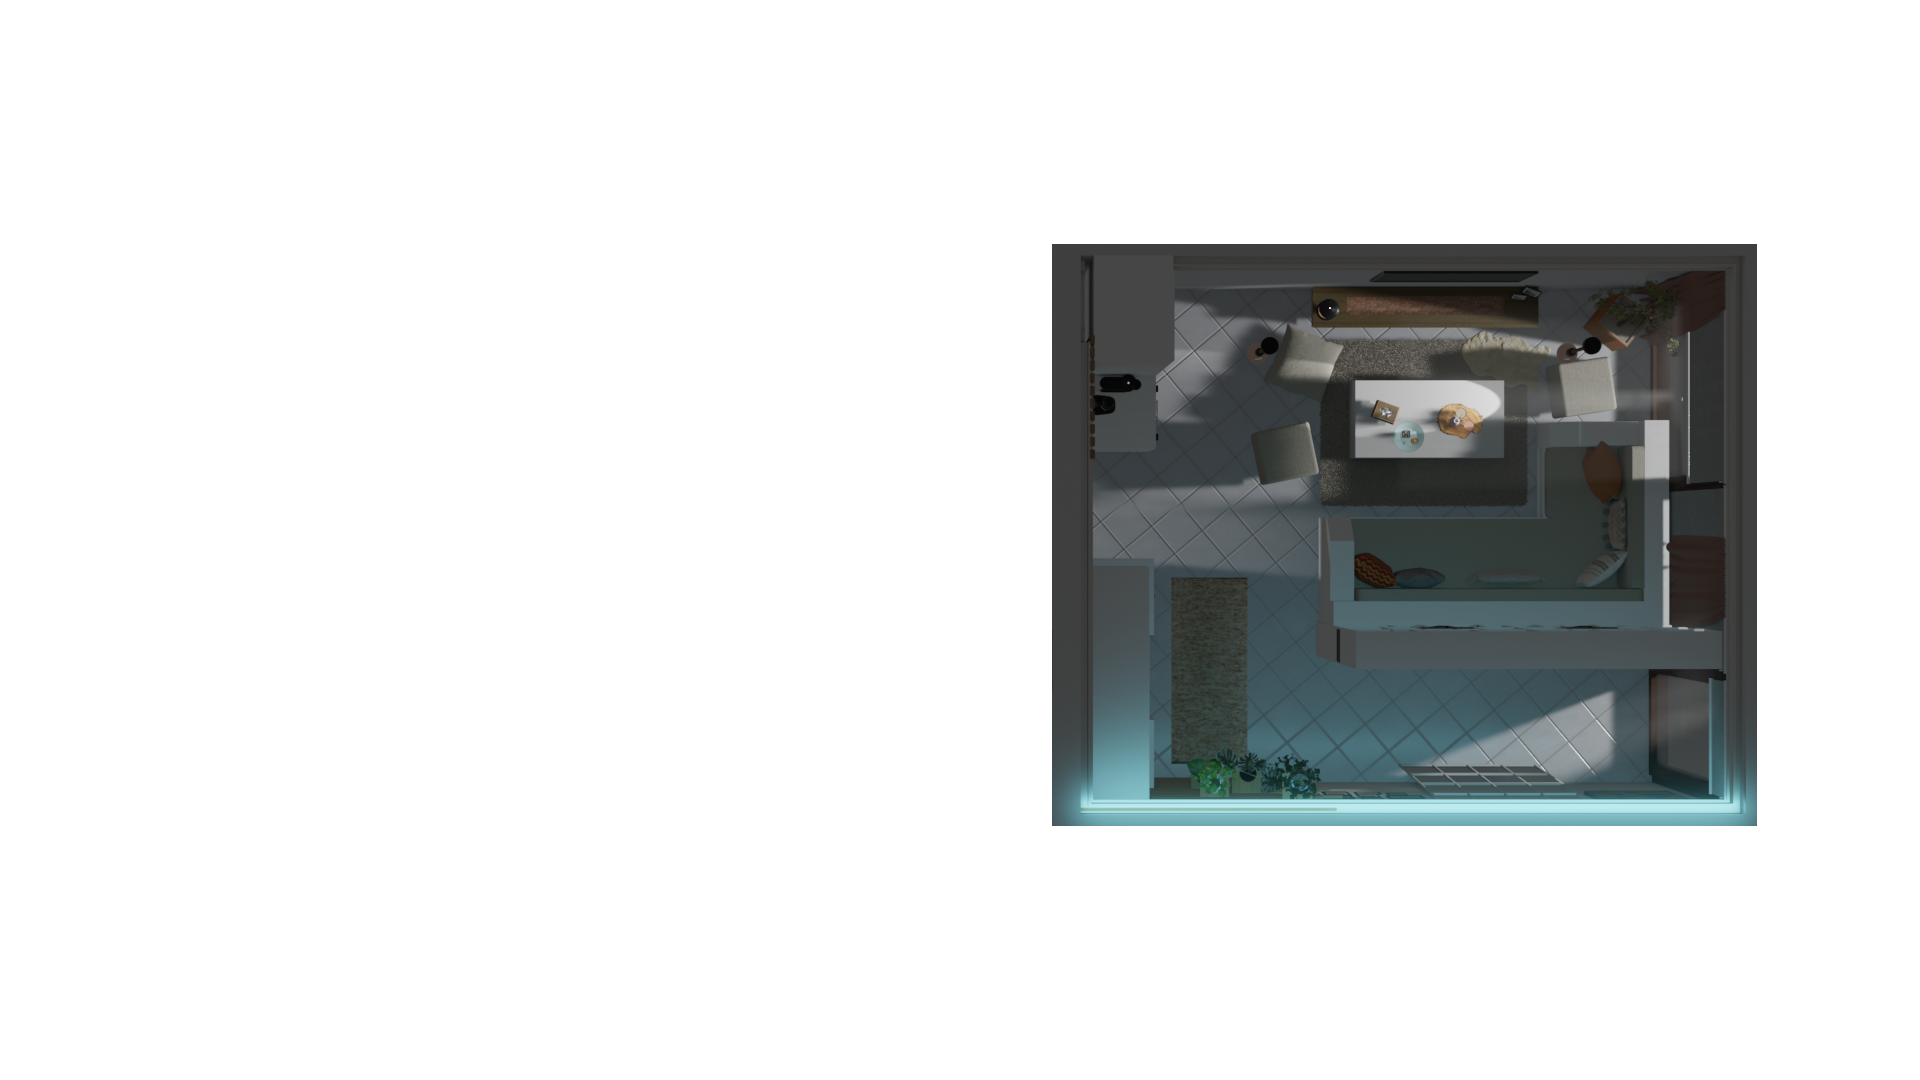
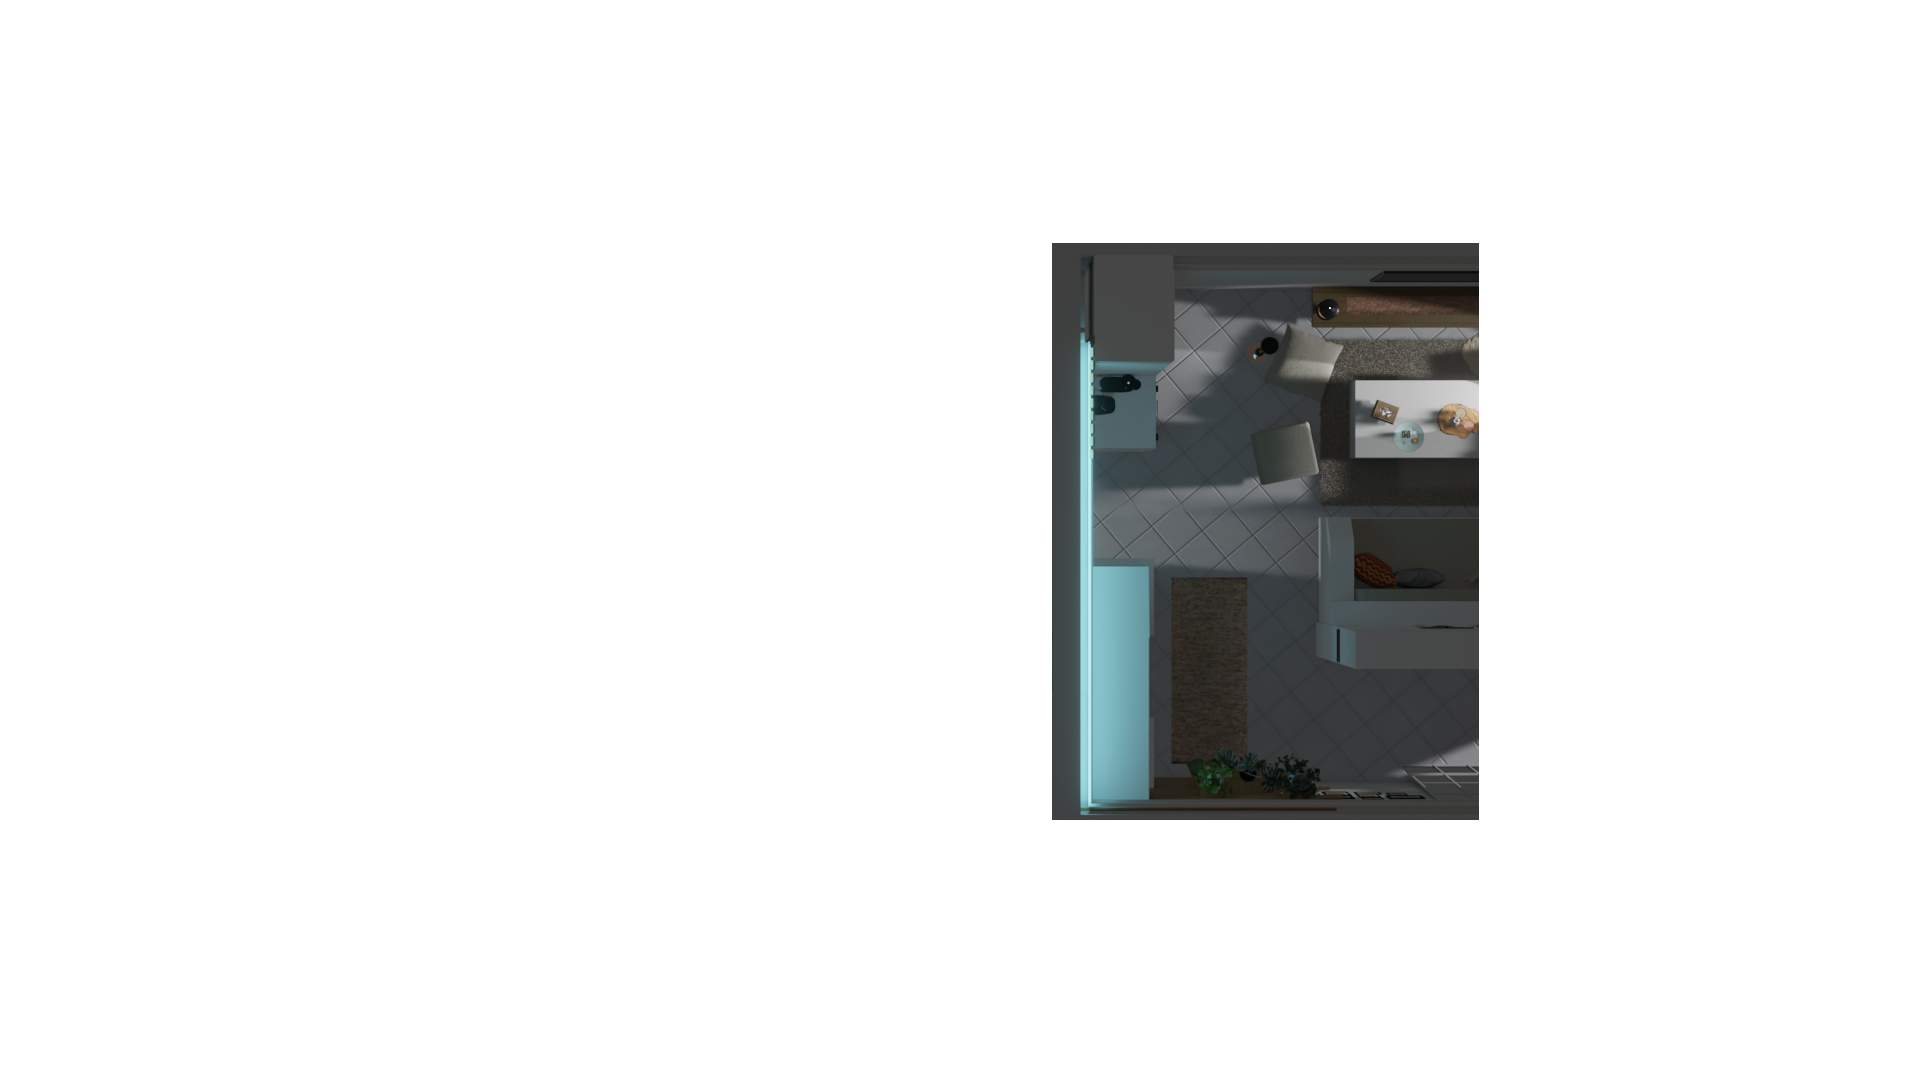
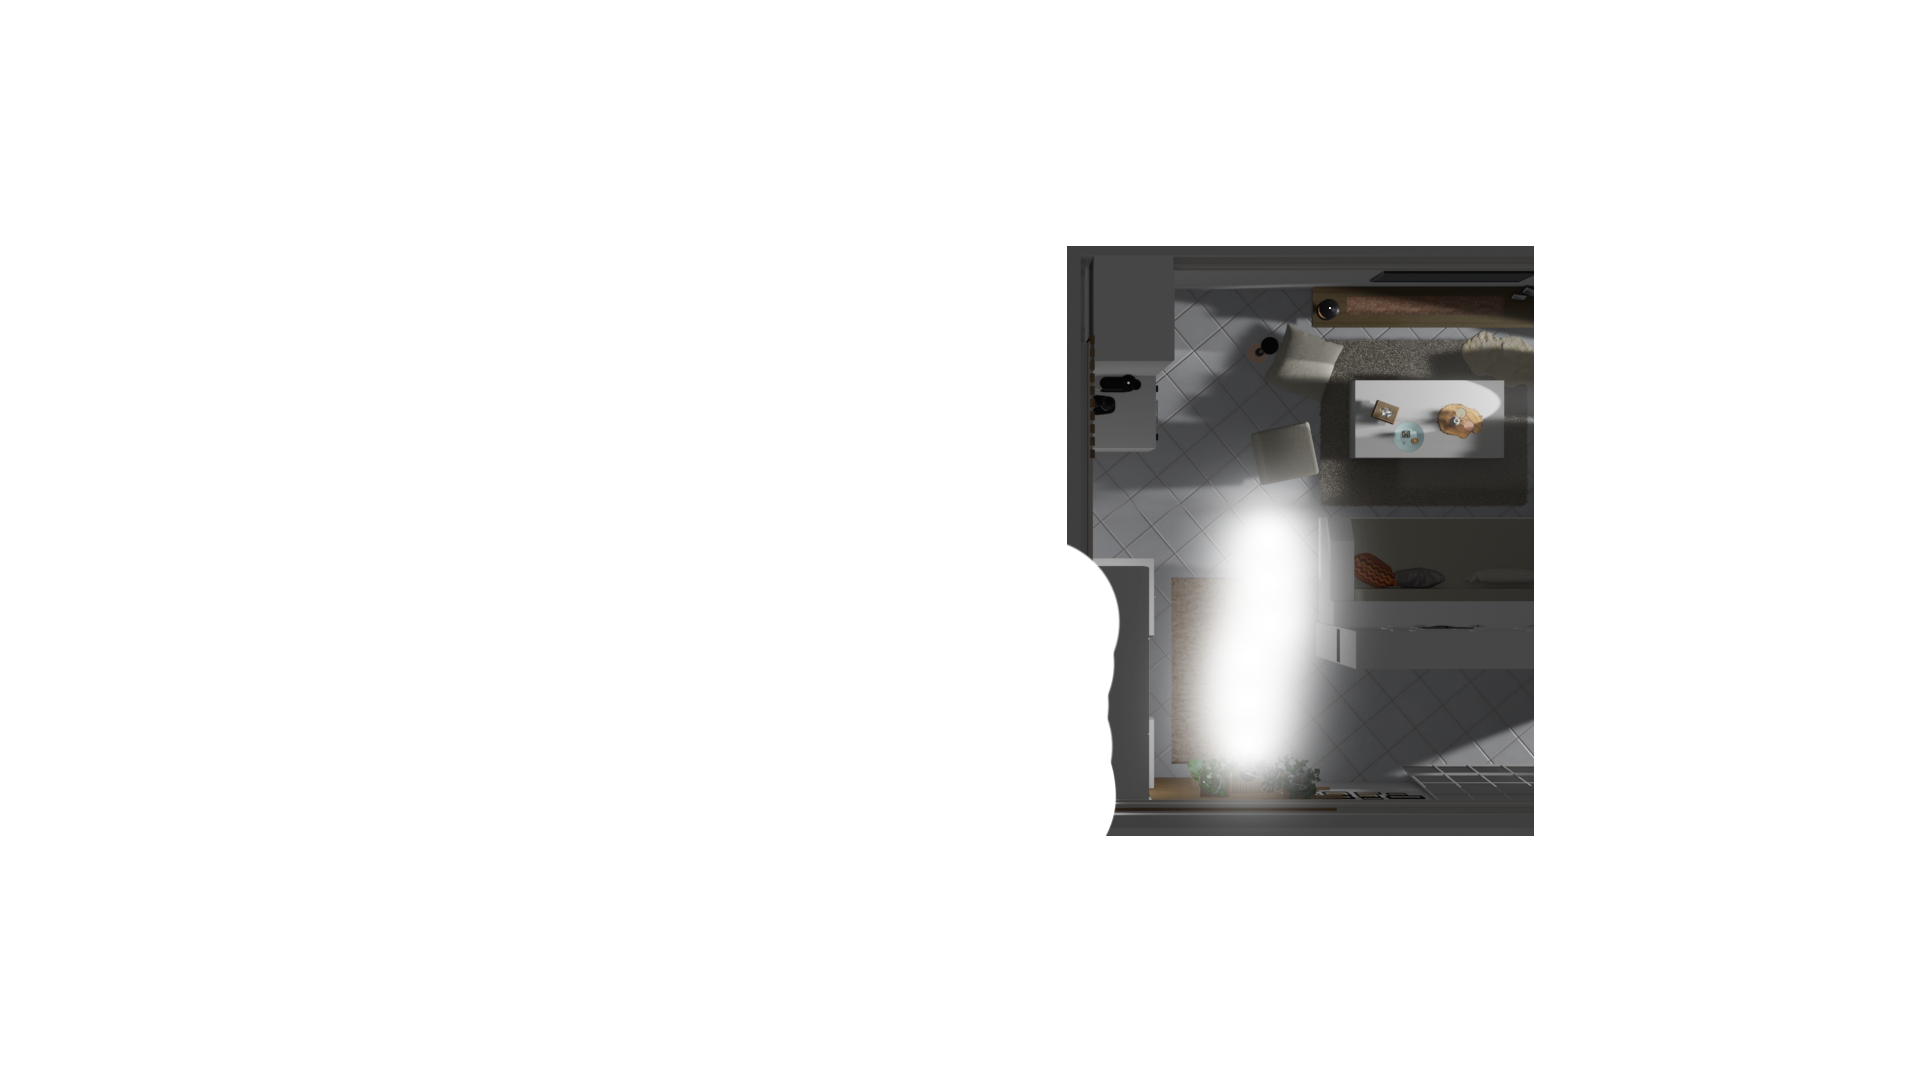
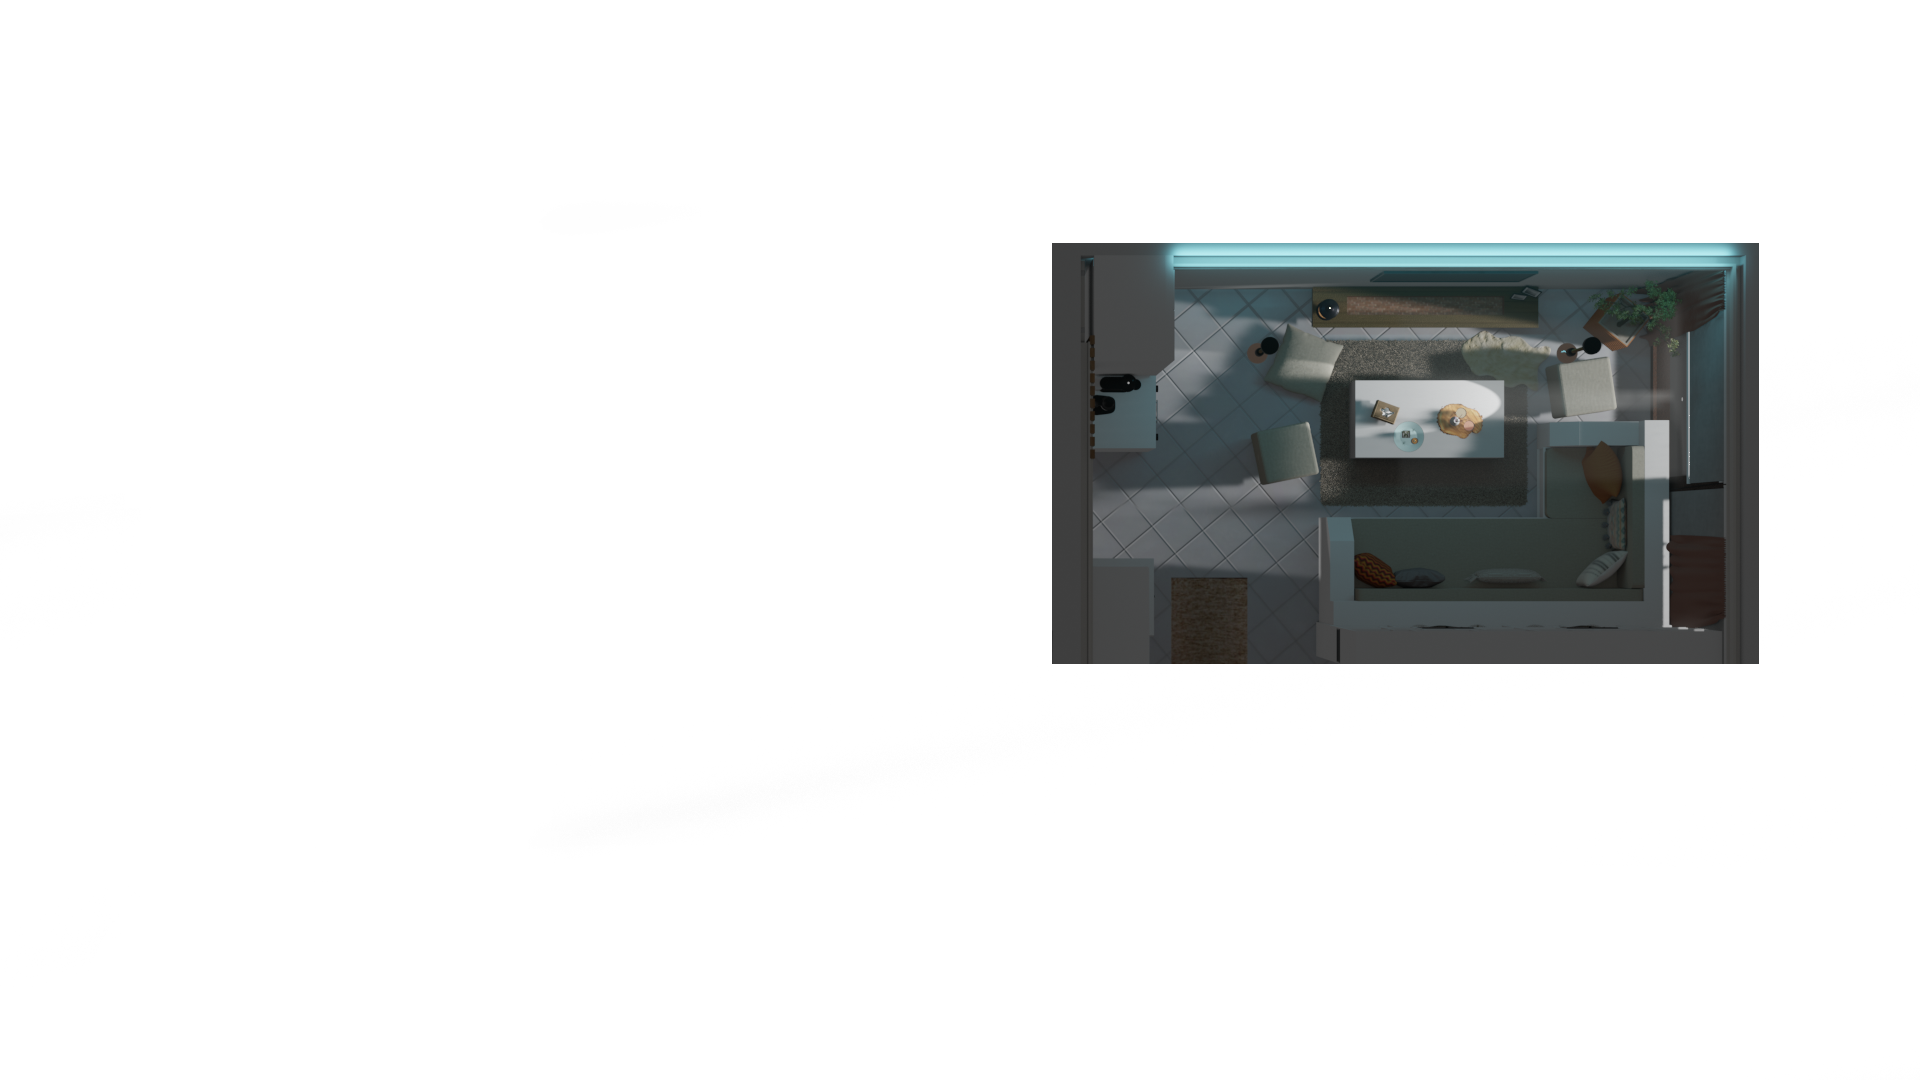
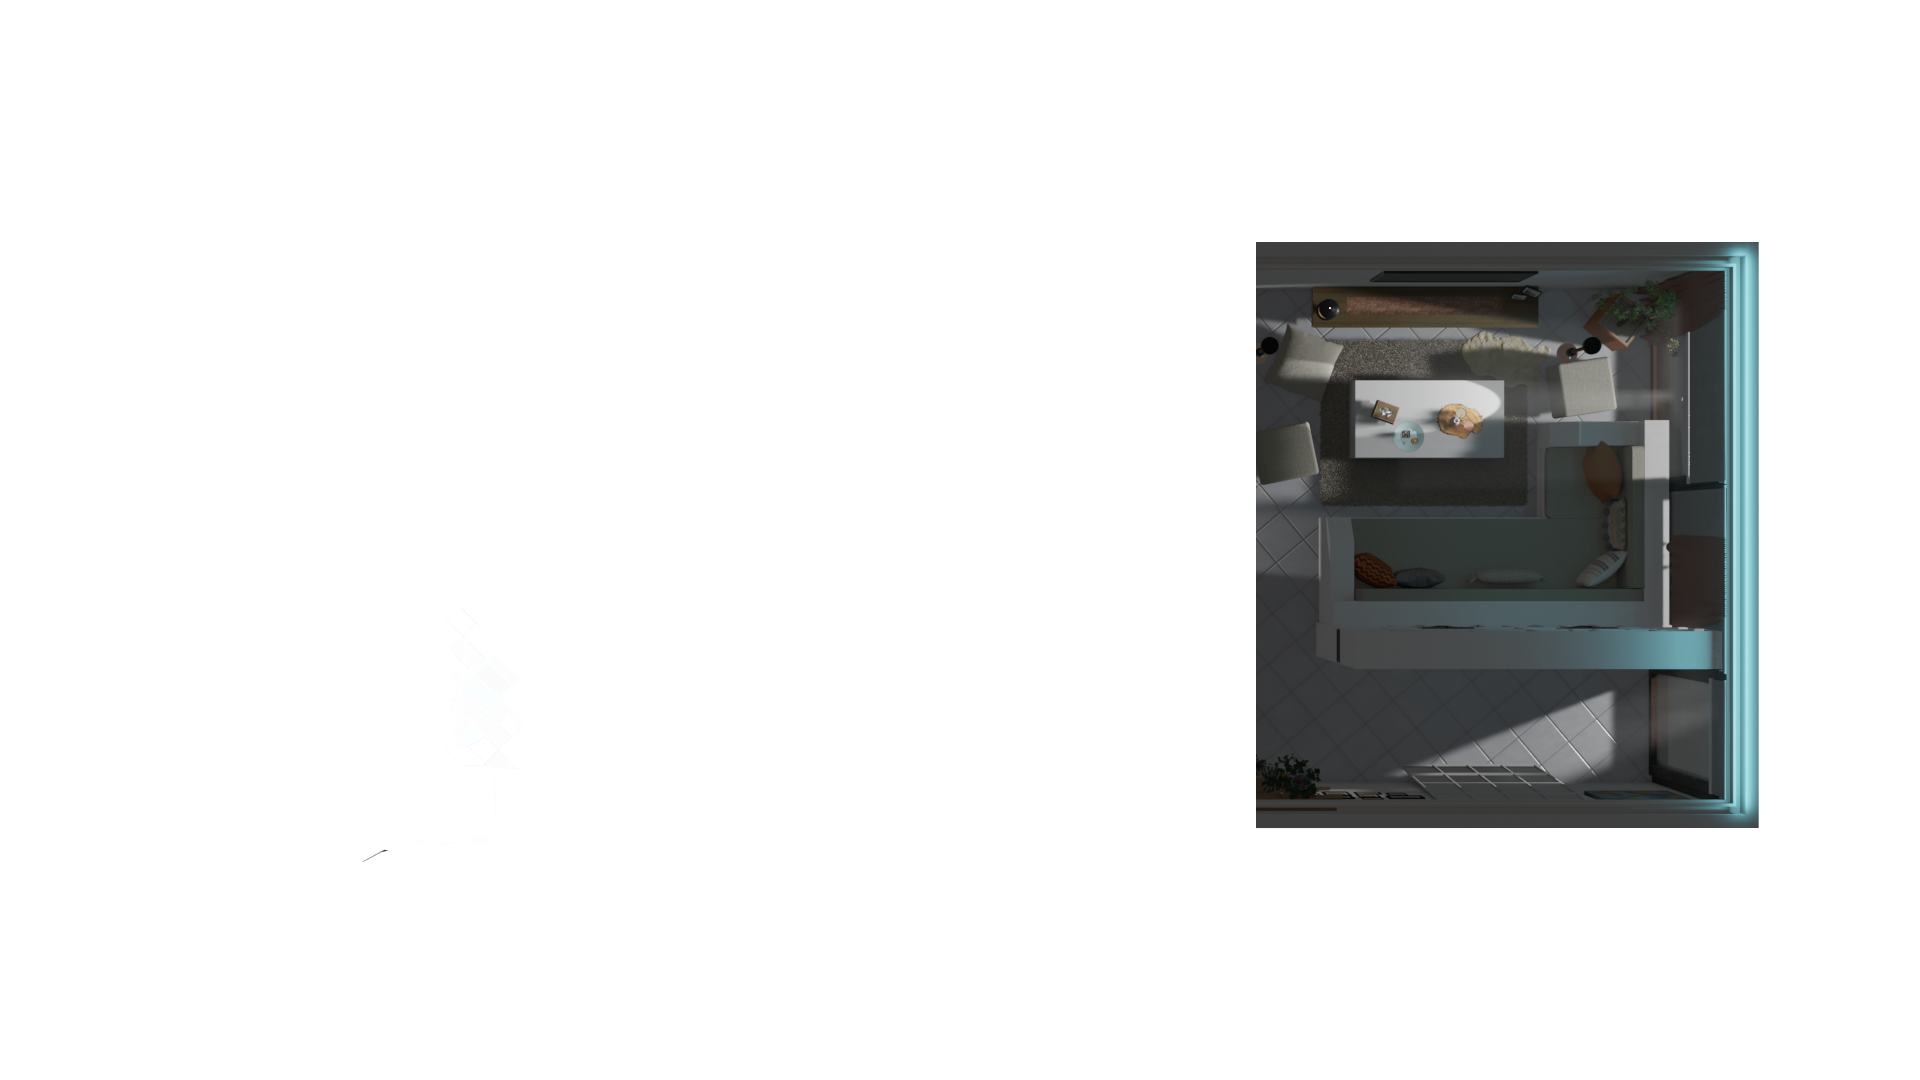
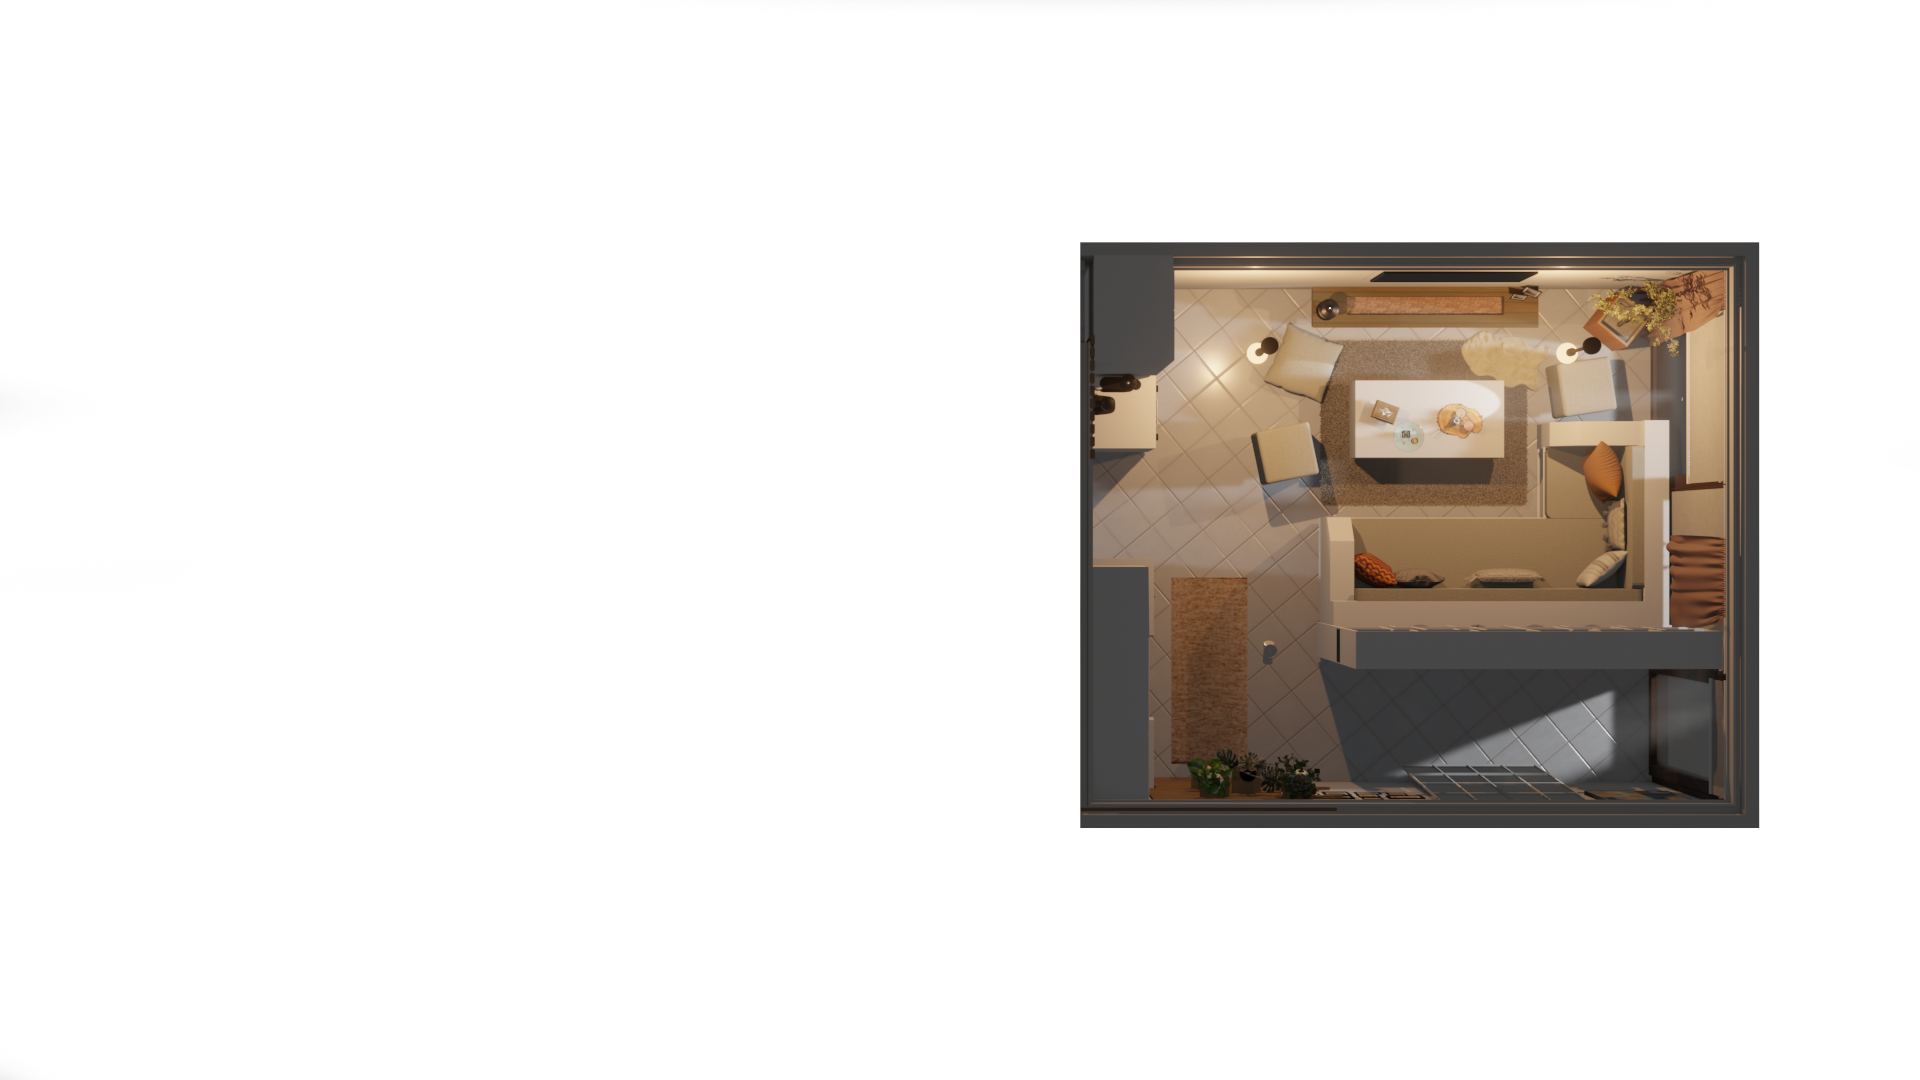
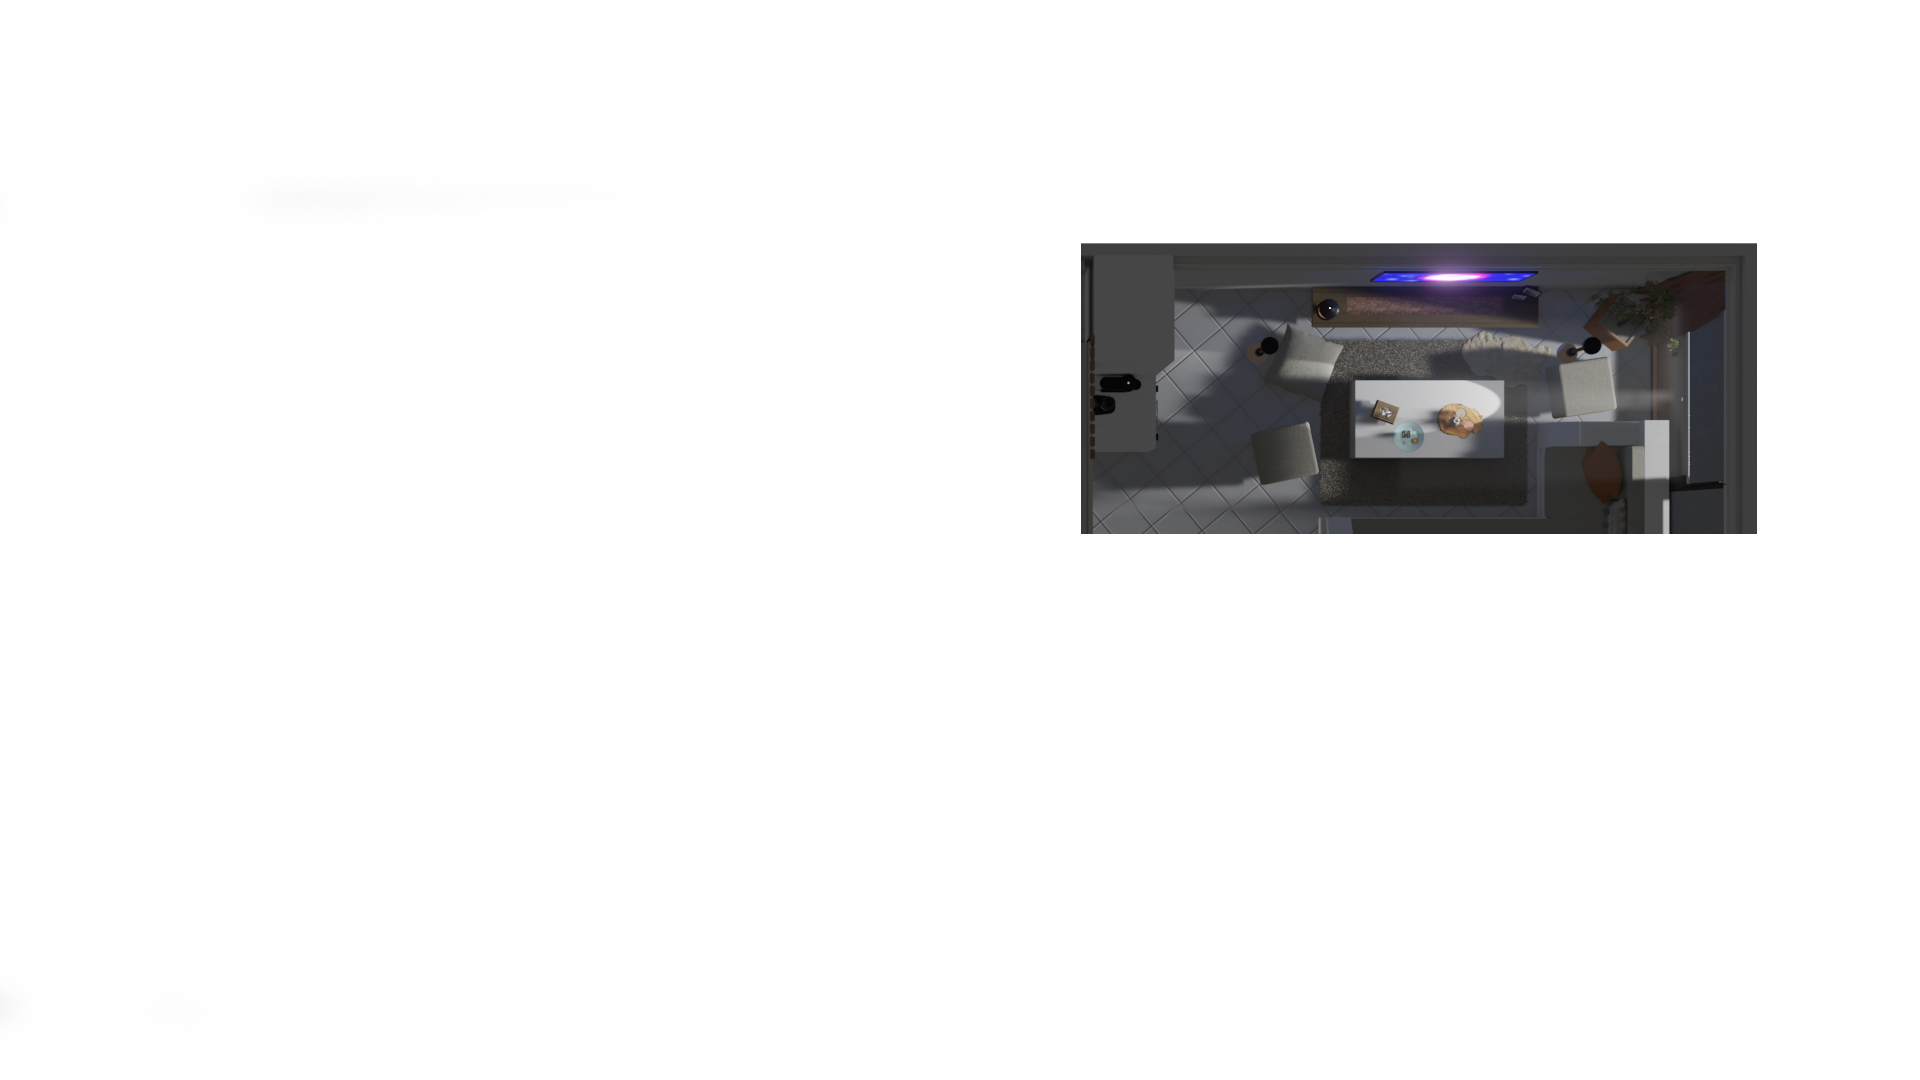
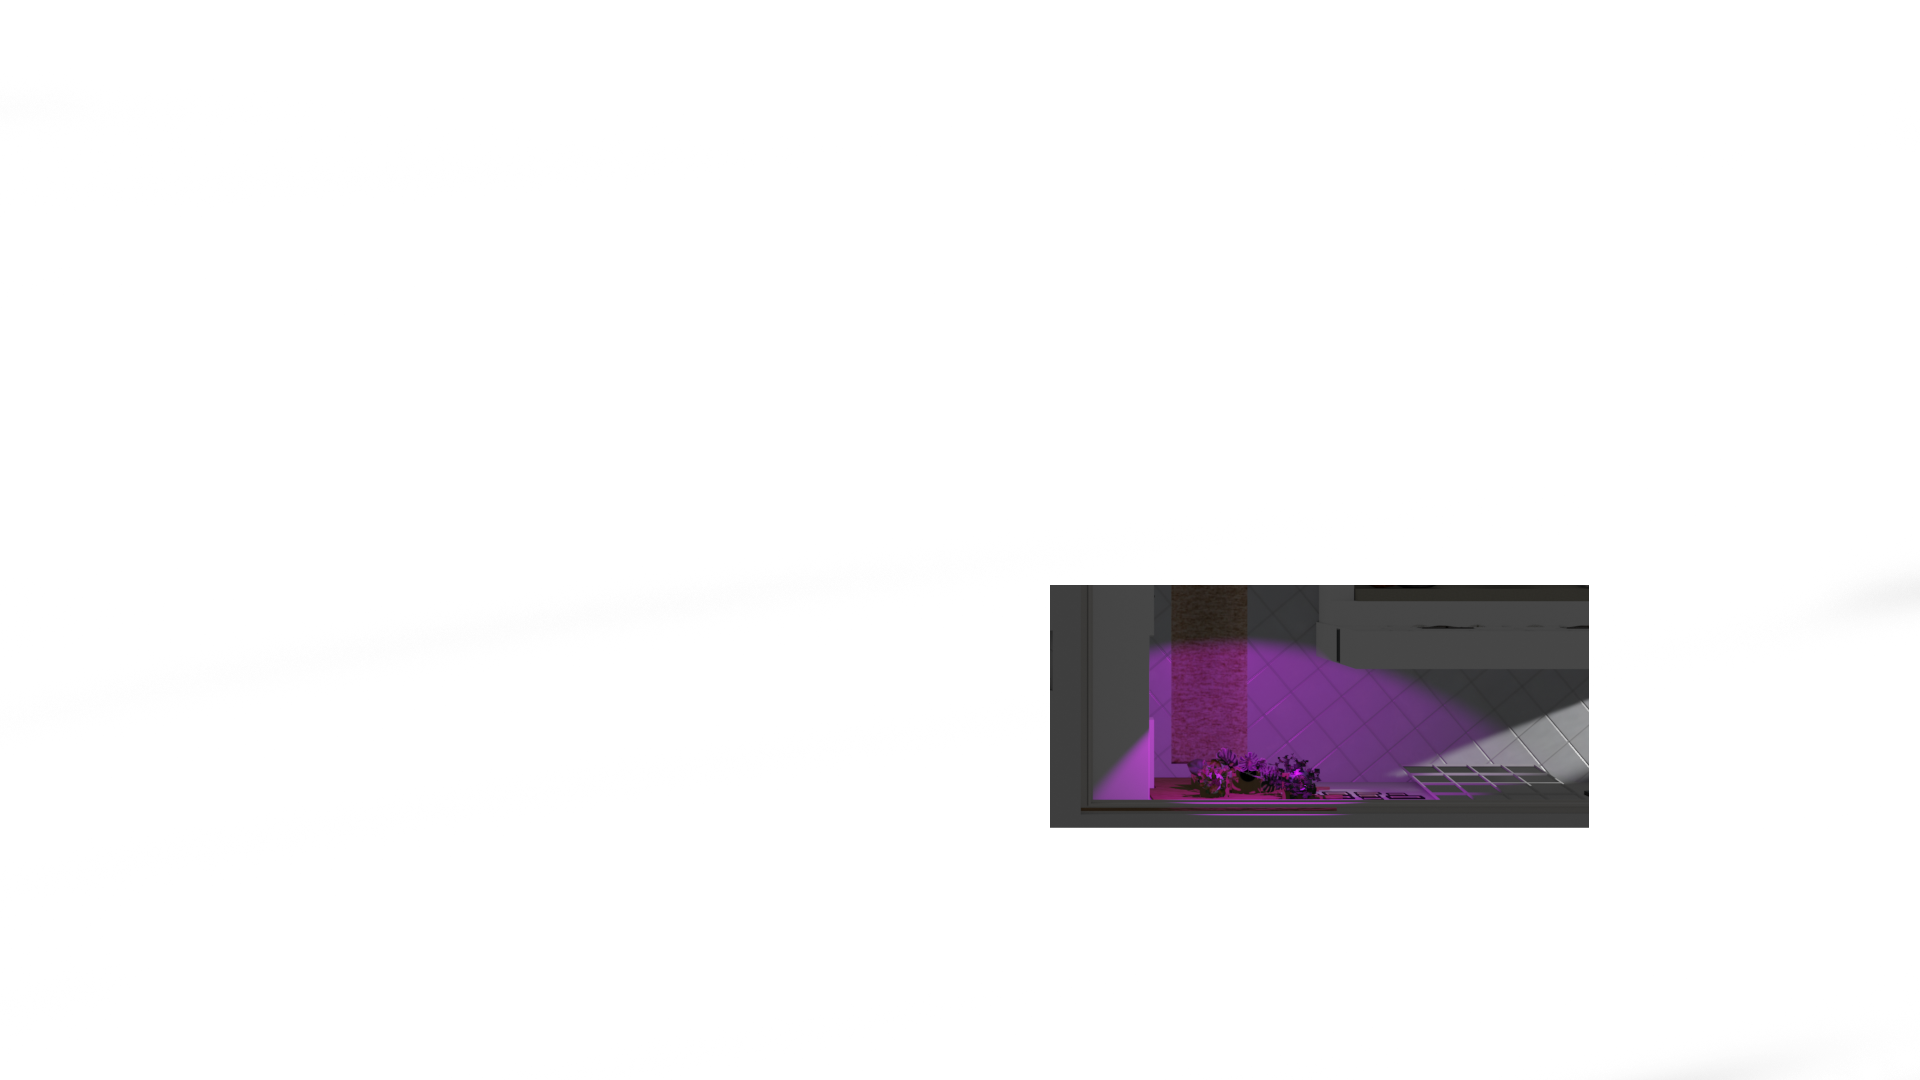
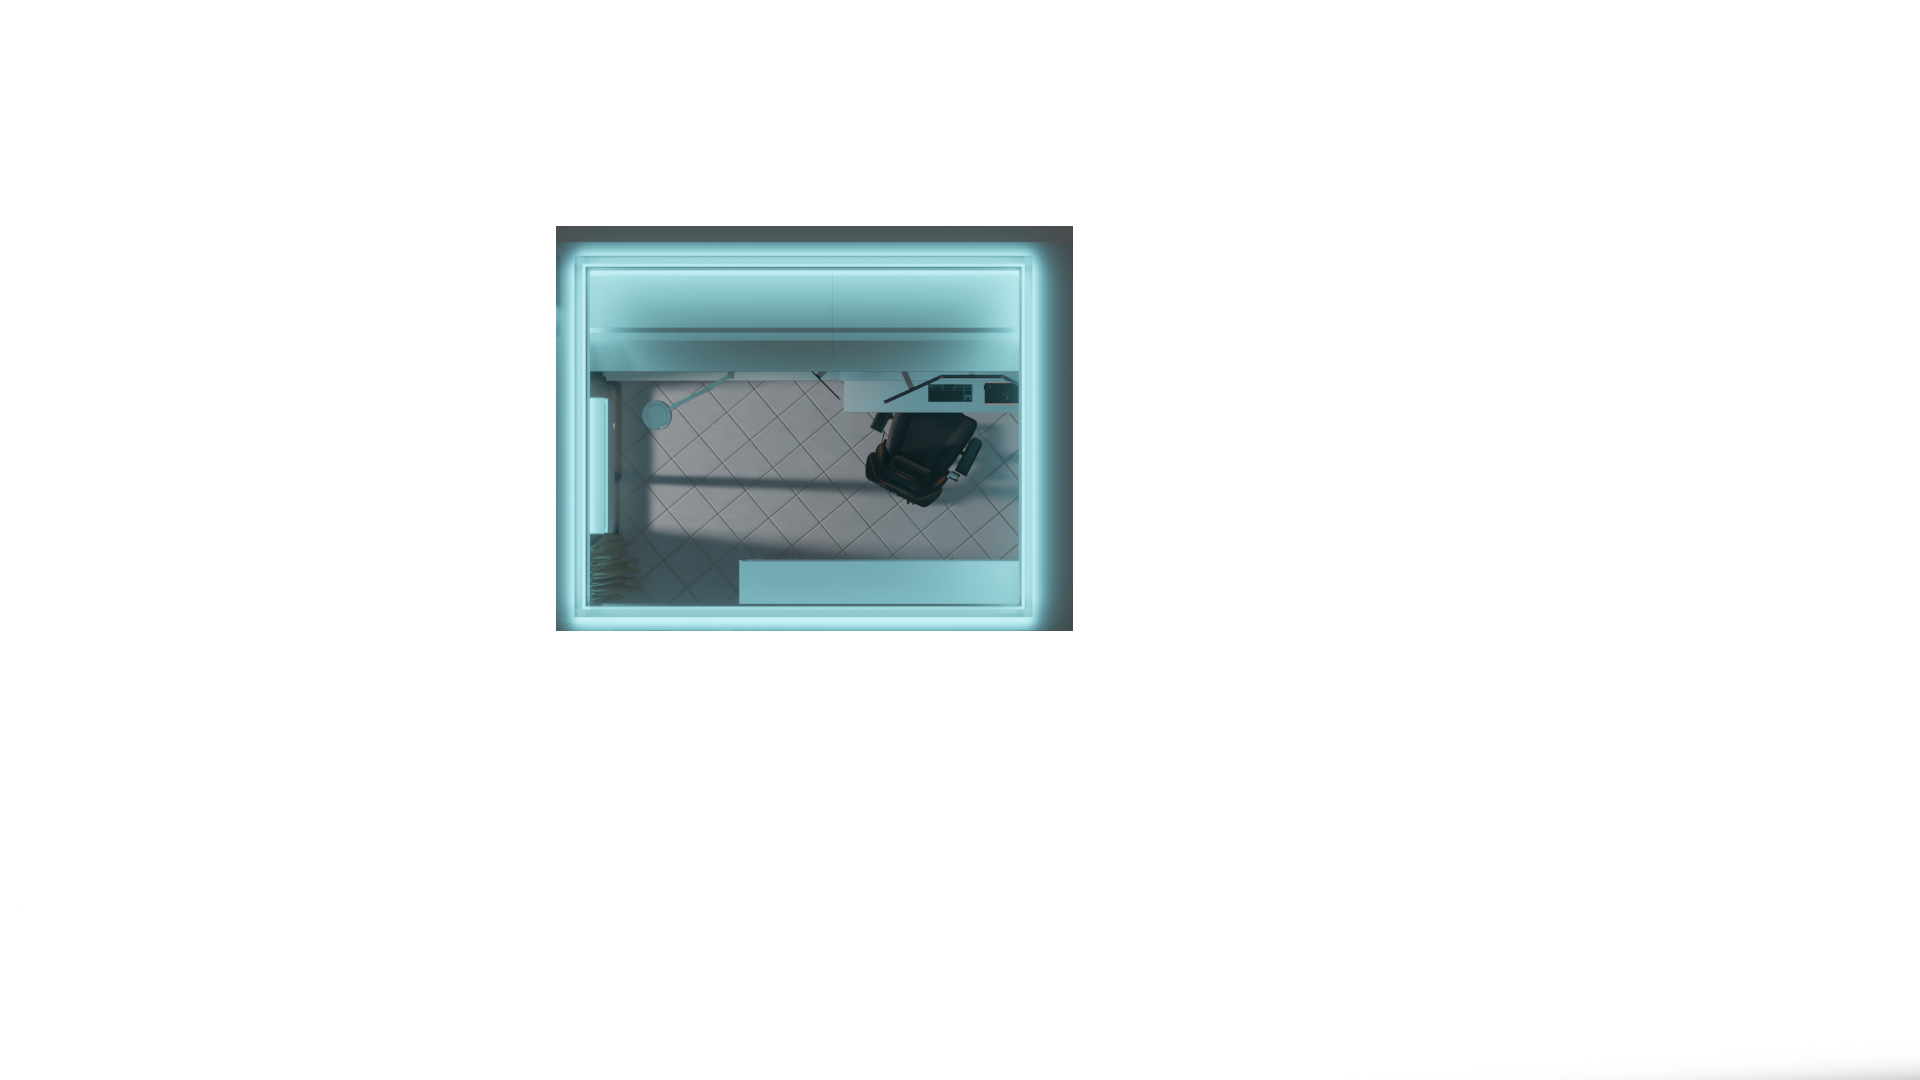
Home Assistant is running on my Dell server and manages a variety of home automation tasks. It primarily uses the MQTT protocol to collect data from multiple sources, such as Zigbee2MQTT and Frigate. By leveraging Frigate's camera feeds, it identifies objects, particularly moving persons, and integrates data from various sensors, including PIR motion sensors for motion detection, temperature and humidity sensors for environmental monitoring, and microwave radar sensors for human presence detection.
Using this data, Home Assistant intelligently controls devices like fans, air conditioners, lights, TVs, aquarium lights, and pumps. These automations are triggered based on factors such as time of day, device states, detected movement, temperature, humidity, and other conditions. To make monitoring and control easier, the system displays real-time data in 3D-rendered scenes.
The scene above is an actual example of my workshop, demonstrating how actions trigger changes in the rendered environment. This effect is achieved using a CSS trick with mix-blend-mode: lighten, which allows multiple light layers to be stacked seamlessly without any visual issues. This approach provides an intuitive and visually appealing way to interact with and monitor the automation system.
Programming
Description
I began my programming journey at the age of 16 with Visual Basic, working on basic projects like an alarm clock and a calendar. My interest in hardware led me to Arduino Mega, which introduced me to C++. One of my early projects was a low-cost RC car controlled by an Arduino-based transmitter, which received commands from a Visual Basic app I created via USB serial. The car could be controlled either through the app's UI or a keyboard.
In 2016, after graduating from university, I completed a 6-month internship at Codenorm GmbH, marking my first step into web development. I started by learning the fundamentals: HTML, CSS, JavaScript, Bootstrap, jQuery, and AJAX. Over time, I expanded my skills to include PHP, working with platforms like Magento and WordPress. By the end of this phase, I was also learning Angular, TypeScript, Git, and Docker.
Between 2017 and 2020, I worked at Dost GmbH, where I contributed to various projects, including the development of custom small robots for specific tasks. This role allowed me to gain expertise in electronics, PCB design and prototyping, 3D modeling, 3D printing, as well as furthering my knowledge of C++ and C#. You can explore more about my work during this period in my FixIT and XPlorer projects.
From 2020 to 2024, I returned to Greece and focused on deepening my knowledge of web development. I concentrated on the technical aspects, such as networking (pFsense) and server management (Unraid), while also learning React. This period was dedicated to mastering both the front-end and back-end intricacies of web development.
Design
Gallery
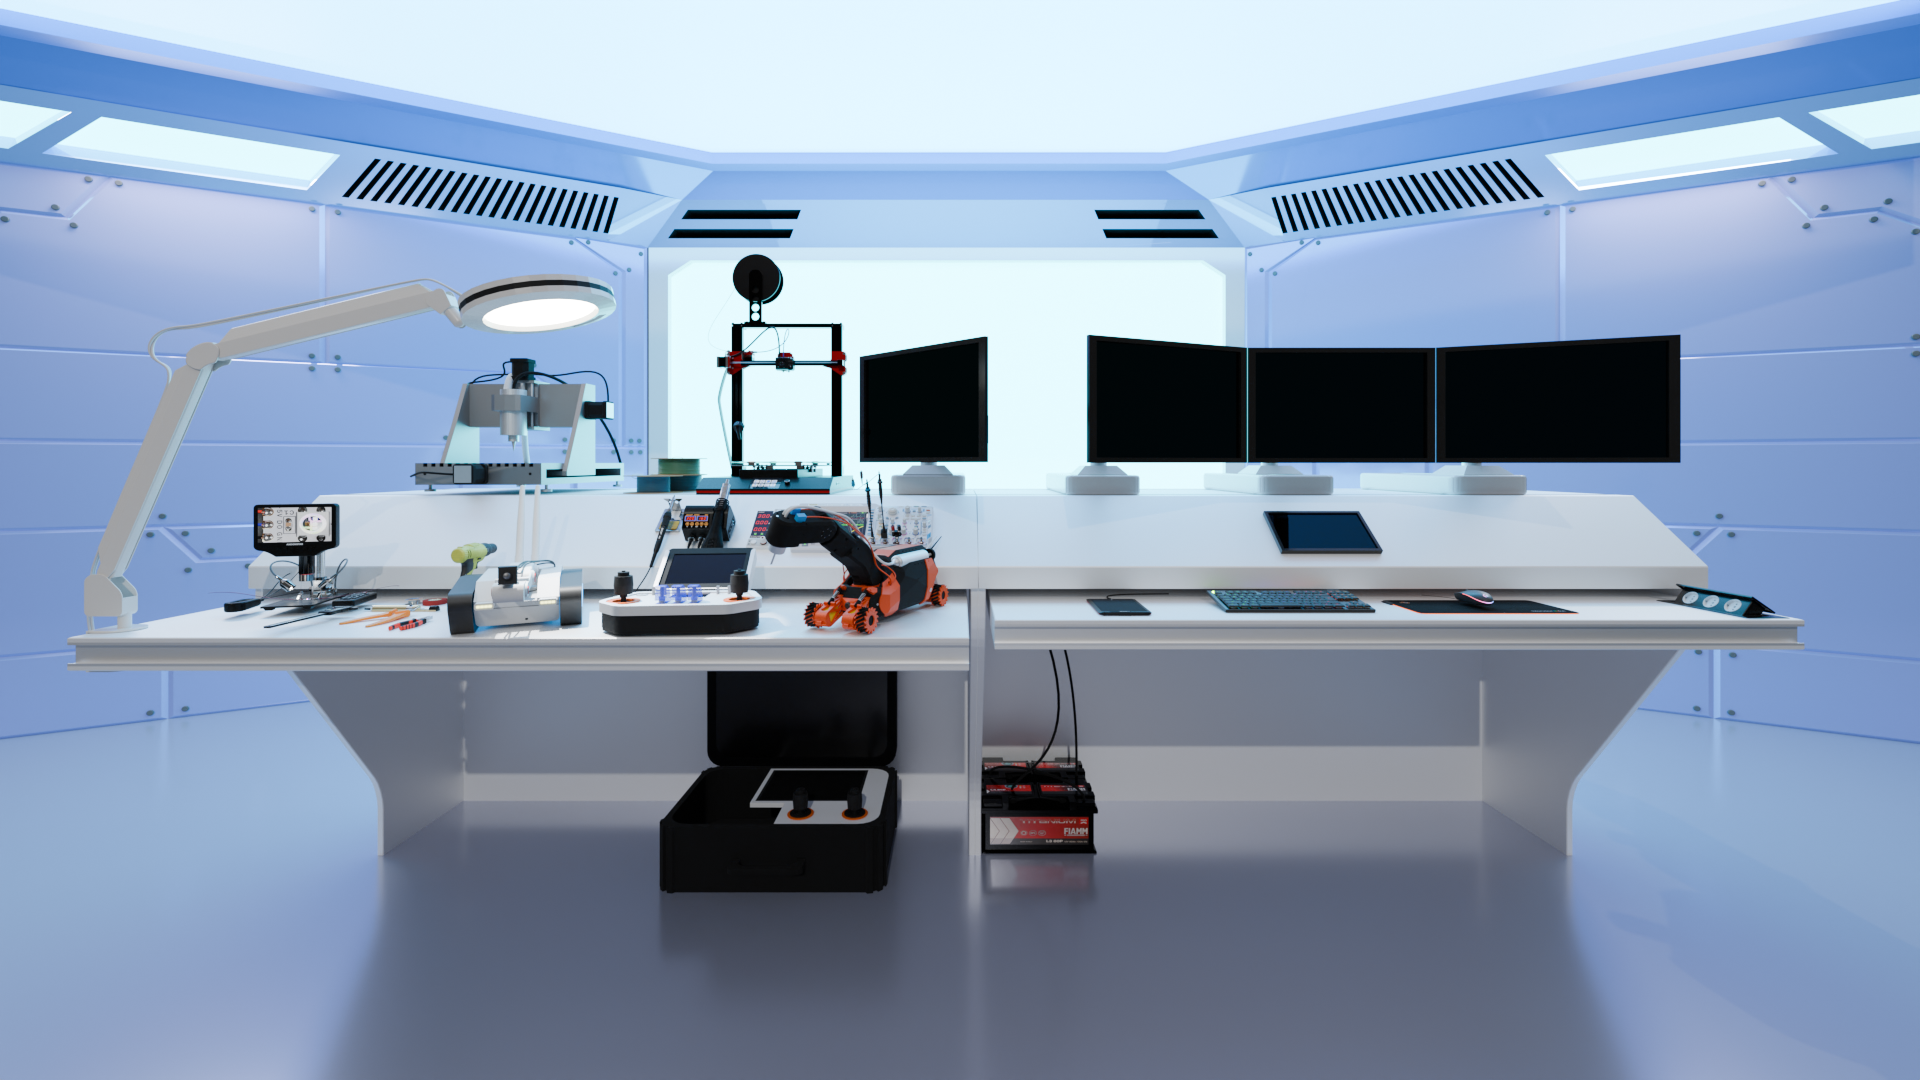
Blender
I regularly use Blender for the visual graphics of my projects, primarily for non-engineering purposes. I have a solid understanding of textures, UV mapping, modeling, and basic shading, though I find shader nodes in Blender to be a vast and complex area that requires deeper exploration. In fact, most of the graphics featured on this website's scene were modeled and rendered in Blender, then converted into 2D SVGs using Figma for seamless integration into the website design.
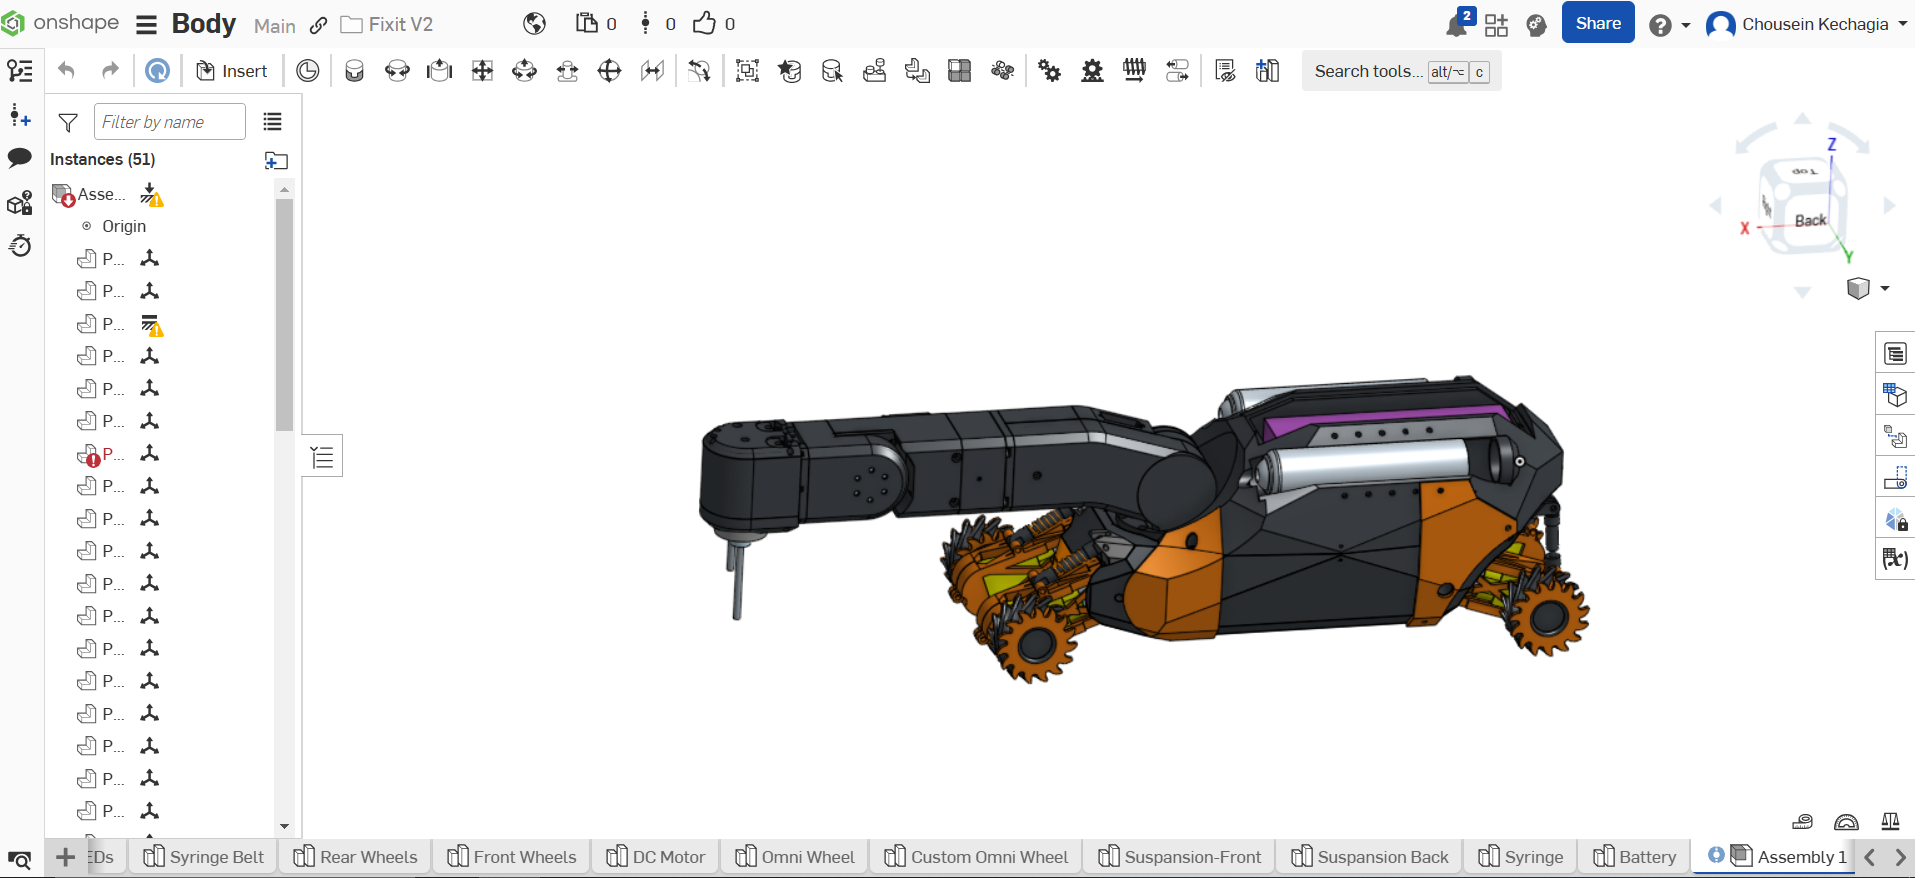
Onshape
I primarily use OnShape to design parts for my robot projects. I find CAD modeling particularly effective for hard surface models due to its precision and accuracy. All of my robots are designed and assembled in OnShape, and the models are then exported to Orca Slicer for further editing and preparation for 3D printing.
Figma
I use Figma to design graphical user interfaces for various projects. Its intuitive tools allow me to quickly bring my ideas to life and visualize the final product. This process also helps me gain a clear understanding of what needs to be programmed and how to structure the development of my projects effectively.
For an optimal viewing experience, please switch to landscape orientation.
Thank you for your understanding.